Jesse Claerbout shows how to clean the inside of an air handler and condensation drain. If you're a fan of ours, be sure to share this video to show your friends and family how they too can experience “Simply Great Service!”
Don't forget to subscribe to our channel on YouTube or our Blog for automatic updates!
Links and Items Mentioned In This Video
- What Microban is
- How to disassemble the air handler for cleaning
- How to clean the inside of the air handler
- How to clean the inside of the condensation drain
- How to reassemble and ready the unit for further use
Transcript
All right, so first, we're going to remove this paneling off of the front of the unit here. We've sped this up, so this is not in real-time. What we do is we spray this with what's called Microban, and this prevents mold growth inside. So, what you're going to see for the next few minutes is Jesse spraying the inside of the unit, in a lot of different places, with the Microban.
All right, so as you see, he's spraying around the inside of the unit there, and we're going take off the top of the paneling, spray that off as well. And where he's going to go to next, he's going to spray the blower housing and the interior of the unit walls, and then we're going to make sure to spray down the evaporator coil and give that a good spray down.
All right, so as you see, we're back downstairs now, so what we're going to be doing is hooking up a vacuum to the condensation line, and this is just a regular Shop-Vac here, and this is usually located right next to the condenser unit like this one here.
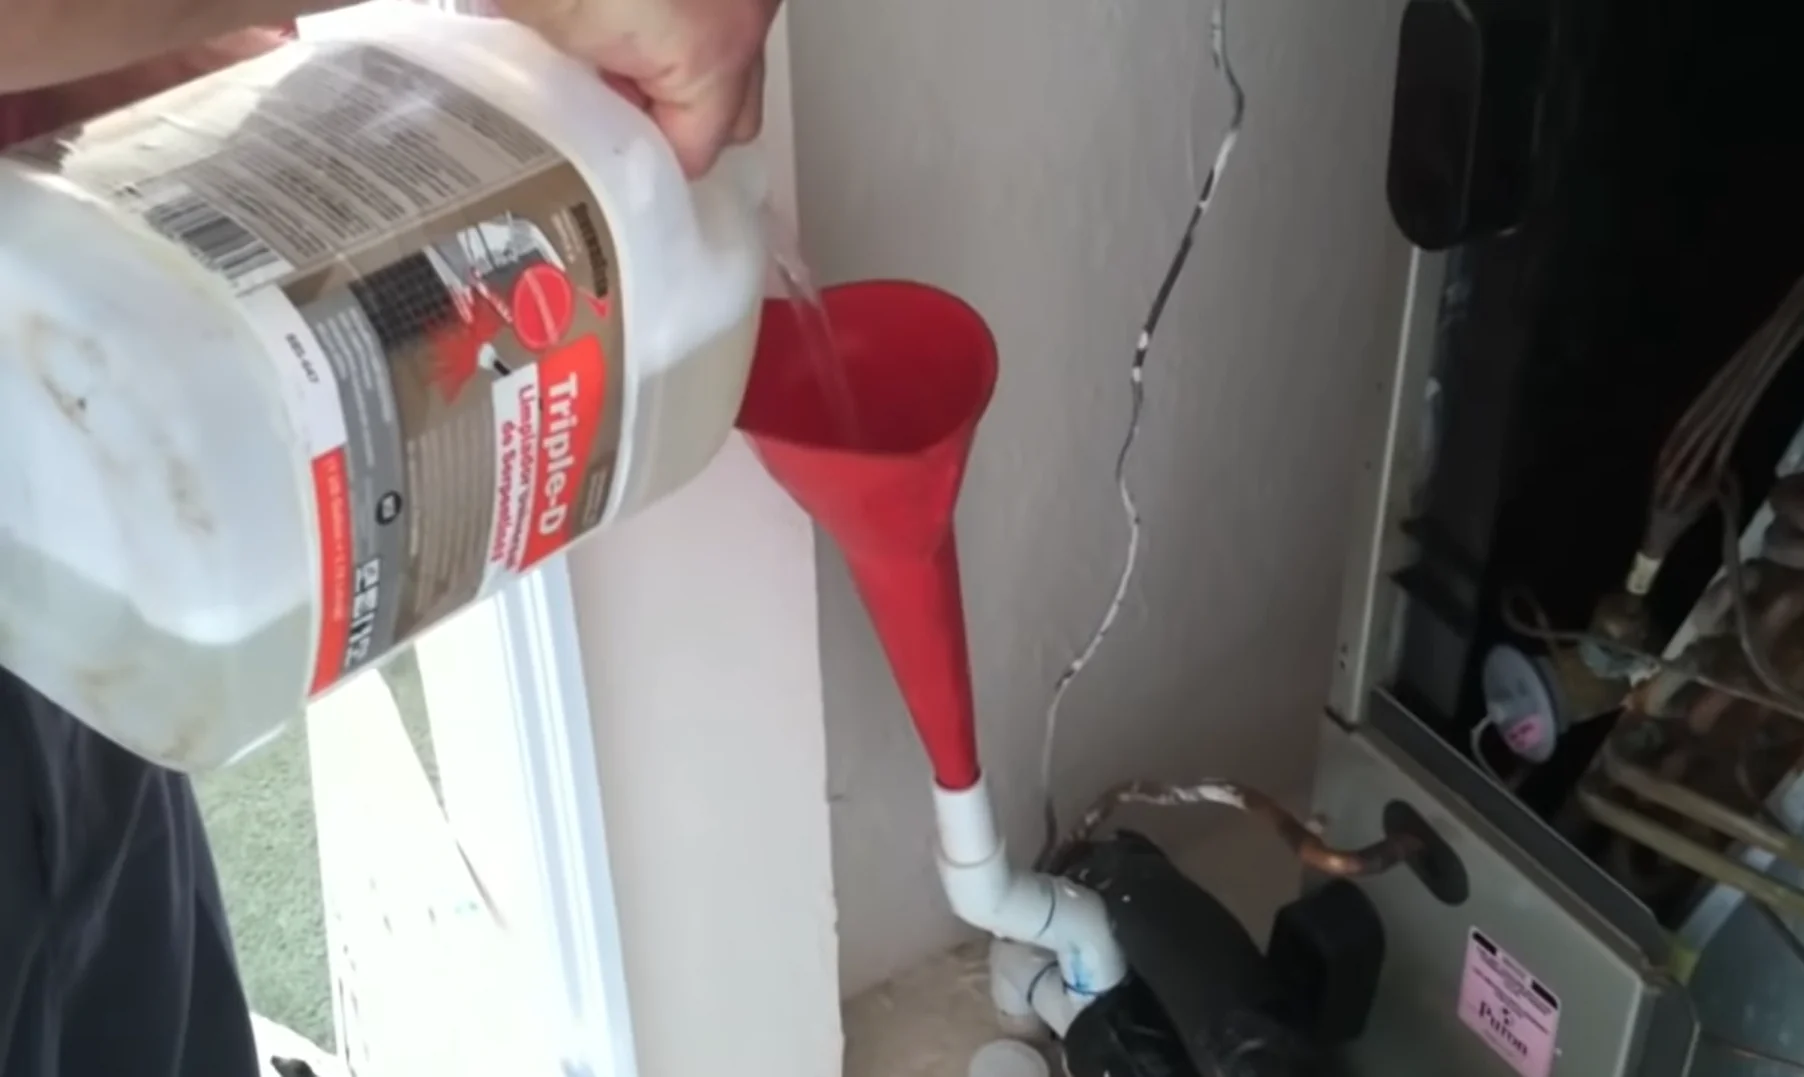
We're going to go back upstairs, and this vacuum is going to help us clean the drain pan, which we'll perform by pouring water down slowly into the drain pan using a funnel, and this flushes out any debris, rust, maybe even mildew that's in the drain pan. So as you see, Jesse is going to do that here. A little spillage there, but that's all right. As you can hear, the vacuum in the background is still sucking, and it's trying to help us basically drain this as efficiently as we can to make sure that we get everything out of here.
All right, and our next step here is to take the condensation drain top off there, and we're going to pour some water down that, still with the vacuum on, in order to clean the actual drain itself. So, you can hear it there—the vacuum is still cleaning.
All right, and now we're back downstairs, and as you can see here, you're going to see all the things that could have clogged the drain up potentially and look at all that there. You definitely don't want that in your system. It could either cause the unit to shut off or cause some water damage if it wasn't brought back off.
All right, so next, what we're going to do here is we're going to take the lead back off of the condensation drain, and we're going to refill it with a little bit of water just to make sure that it will drain properly. So, as you see, Jesse is doing that, putting a little bit of water in there and making sure that the cap goes back on.
What we're going to do lastly is take a couple of Pan tabs and put those on the drain pan in order to prevent any mildew or any other buildup that might be caused until we do our next maintenance on this unit.
All right, and that's pretty much everything. Obviously, you're going to put your unit back together, but that's how you clean the air handler and the condensation drain.
Visit KalosFlorida.com or call (352) 243-7088 for more information!
More questions? Make sure to sound off in the comments or leave us a Voicemail. If you do, you might end up on our Podcast!


Do you have questions? We can help! Fill out the form below: