Jesse Claerbout explains how to check the refrigerant and amp pressures at the condenser. If you're a fan of ours, be sure to share this video to show your friends and family how they too can experience “Simply Great Service!”
Don't forget to subscribe to our channel on YouTube or our Blog for automatic updates!
Links and Items Mentioned In This Video
- How to check refrigerant charges
- How to check amp levels at the condenser
Transcript
All right, so we've already tested the capacitor, so all we want to do now is make sure the system is in cooling mode. That's been running for at least 5-10 minutes. What we're doing here is taking off the Schrader valve caps, and we're going to check to make sure that those rubber seals are still inside.
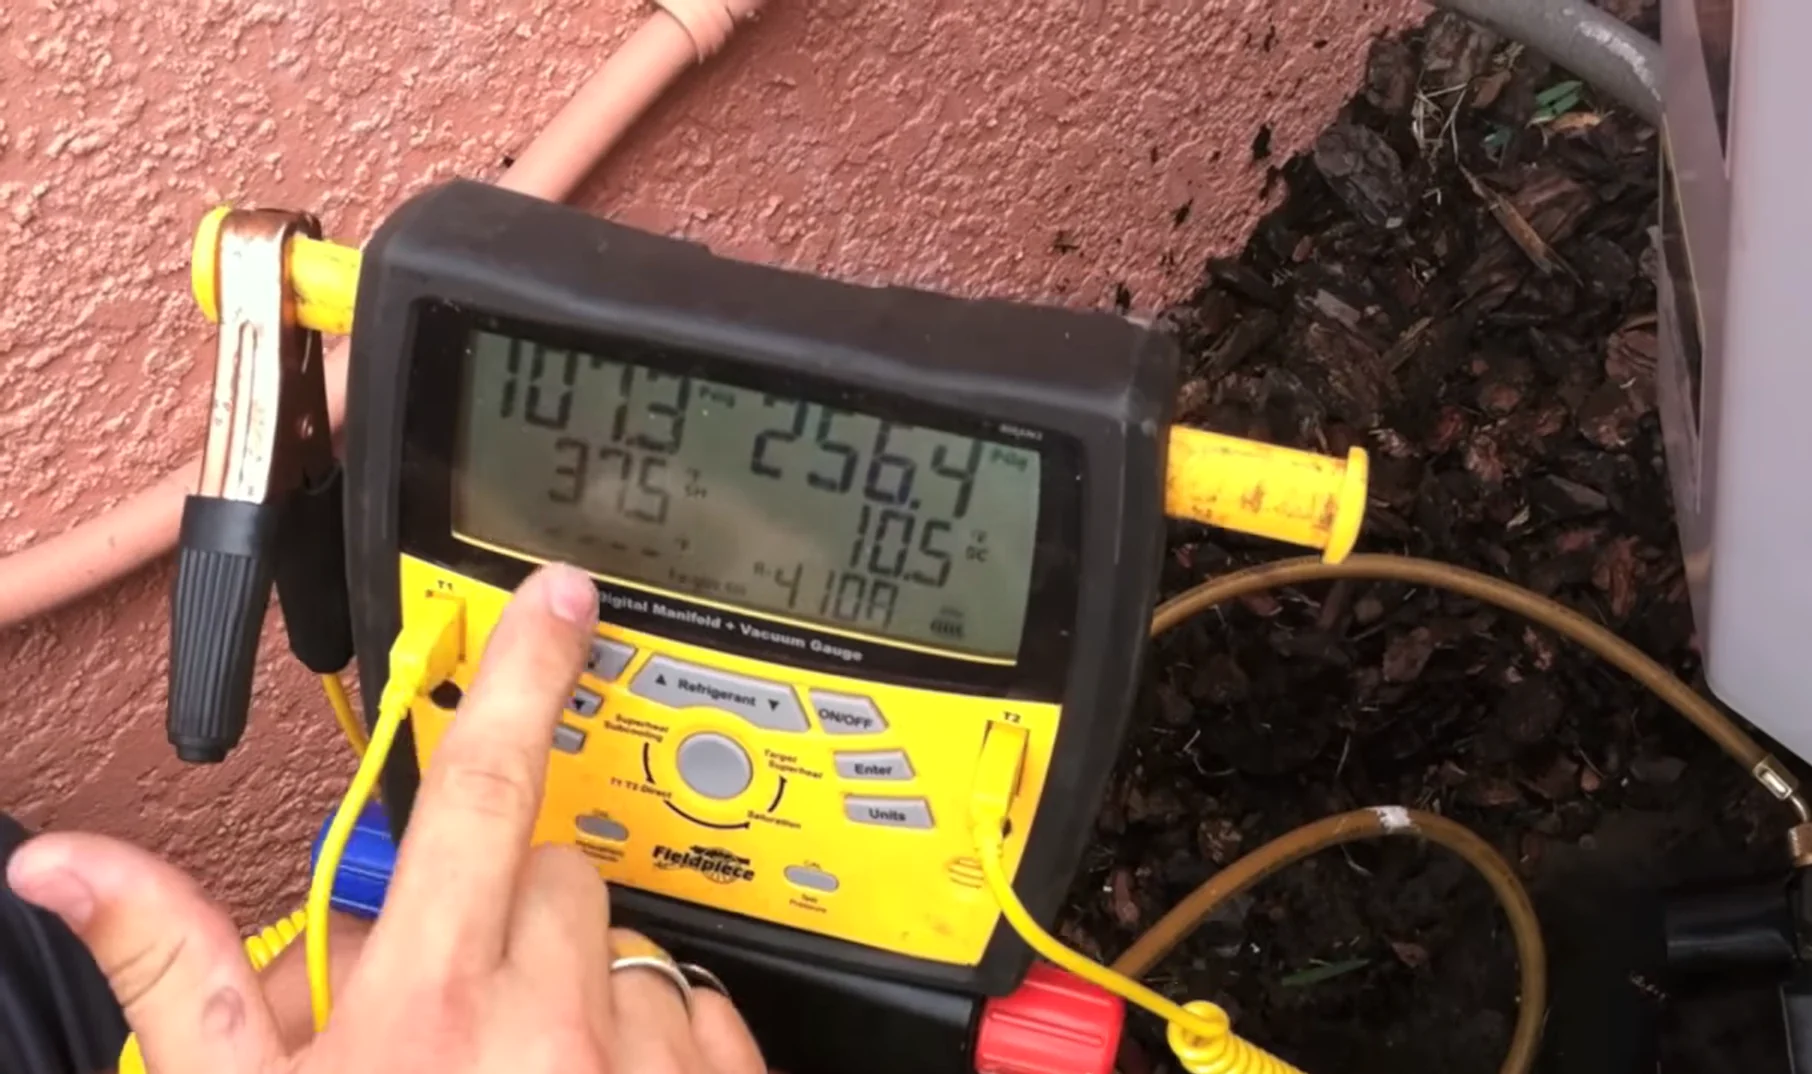
Now, here we're going to have our pressure gauges. These are digital, so we want to make sure that we have the right settings, and this unit uses R-410A. I'm going to connect the red hose to the liquid line, and this hose is for high pressures. Now, some refrigerant may escape as I attach these hoses, but that's all right. And next, I'm going to attach the yellow hose to the suction line. Normally, your suction line hose used for low pressure is blue, but we have a different color hooked up here.
So, here I'm going to attach the temperature clamp to the liquid line in order to find the subcool. Now, we'll give it a second to equalize here and get some good readings.
All right, so we'll get some readings off of our digital gauge here, and now on the right side, we have our pressure which is in PSI, and we've got the subcool below that. And we're going to hook this up here, and on the left side, there is a low-pressure suction reading and the superheat below that. In this case, though, there is an indoor TXV controlling the superheat, so we will use the subcool to find it. Of note, the discharge is within the correct specifications, so that's good, and the check is all fine.
Now, this is my digital multimeter, and we're going to check the ampere draws of the condenser fan and the compressor, but first, I'm going to check my voltage. Now, the system runs on 240V, so we take a look here. It looks good. All right.
Now, find the black wire—and it's the common wire from the condenser fan—in order to get its reading. So, we've got that there. That matches the specifications, so that checks out. And you'll find and look for a thicker gauge black wire coming from the top of the contactor. It's called the common wire for the compressor. We'll get that reading, and it looks like we've got a good reading there as well.
Visit KalosFlorida.com or call (352) 243-7088 for more information!
More questions? Make sure to sound off in the comments or leave us a Voicemail. If you do, you might end up on our Podcast!


Do you have questions? We can help! Fill out the form below: