Here are the five things that you need to make sure get done before and during your blown-in insulation project. These steps will make sure your company actually does a quality job. I can't tell you how many times we've gone behind the other blown insulation contractors here in Florida and seeing that they either don't even attempt to do what should be done in terms of performance or underdeliver on what they promised and don't actually finish what is needed. Here in Florida, it is scorching outside. To make your home cooler and more energy-efficient, you can a layer of insulation between that heat and your livable space.
The work is not necessarily highly skilled or hard work in terms of needing immense education to understand its process. However, it does take commitment and hard work to actually put into practice. Attic temperatures here in Florida can sometimes reach up to 150 degrees, so it's important to make sure that the company you choose takes employee safety seriously and trains them properly. Once you're up in an attic for more than about 10 minutes, it's easy to start cutting corners. So, proper training and leeway for needed rest are both key.
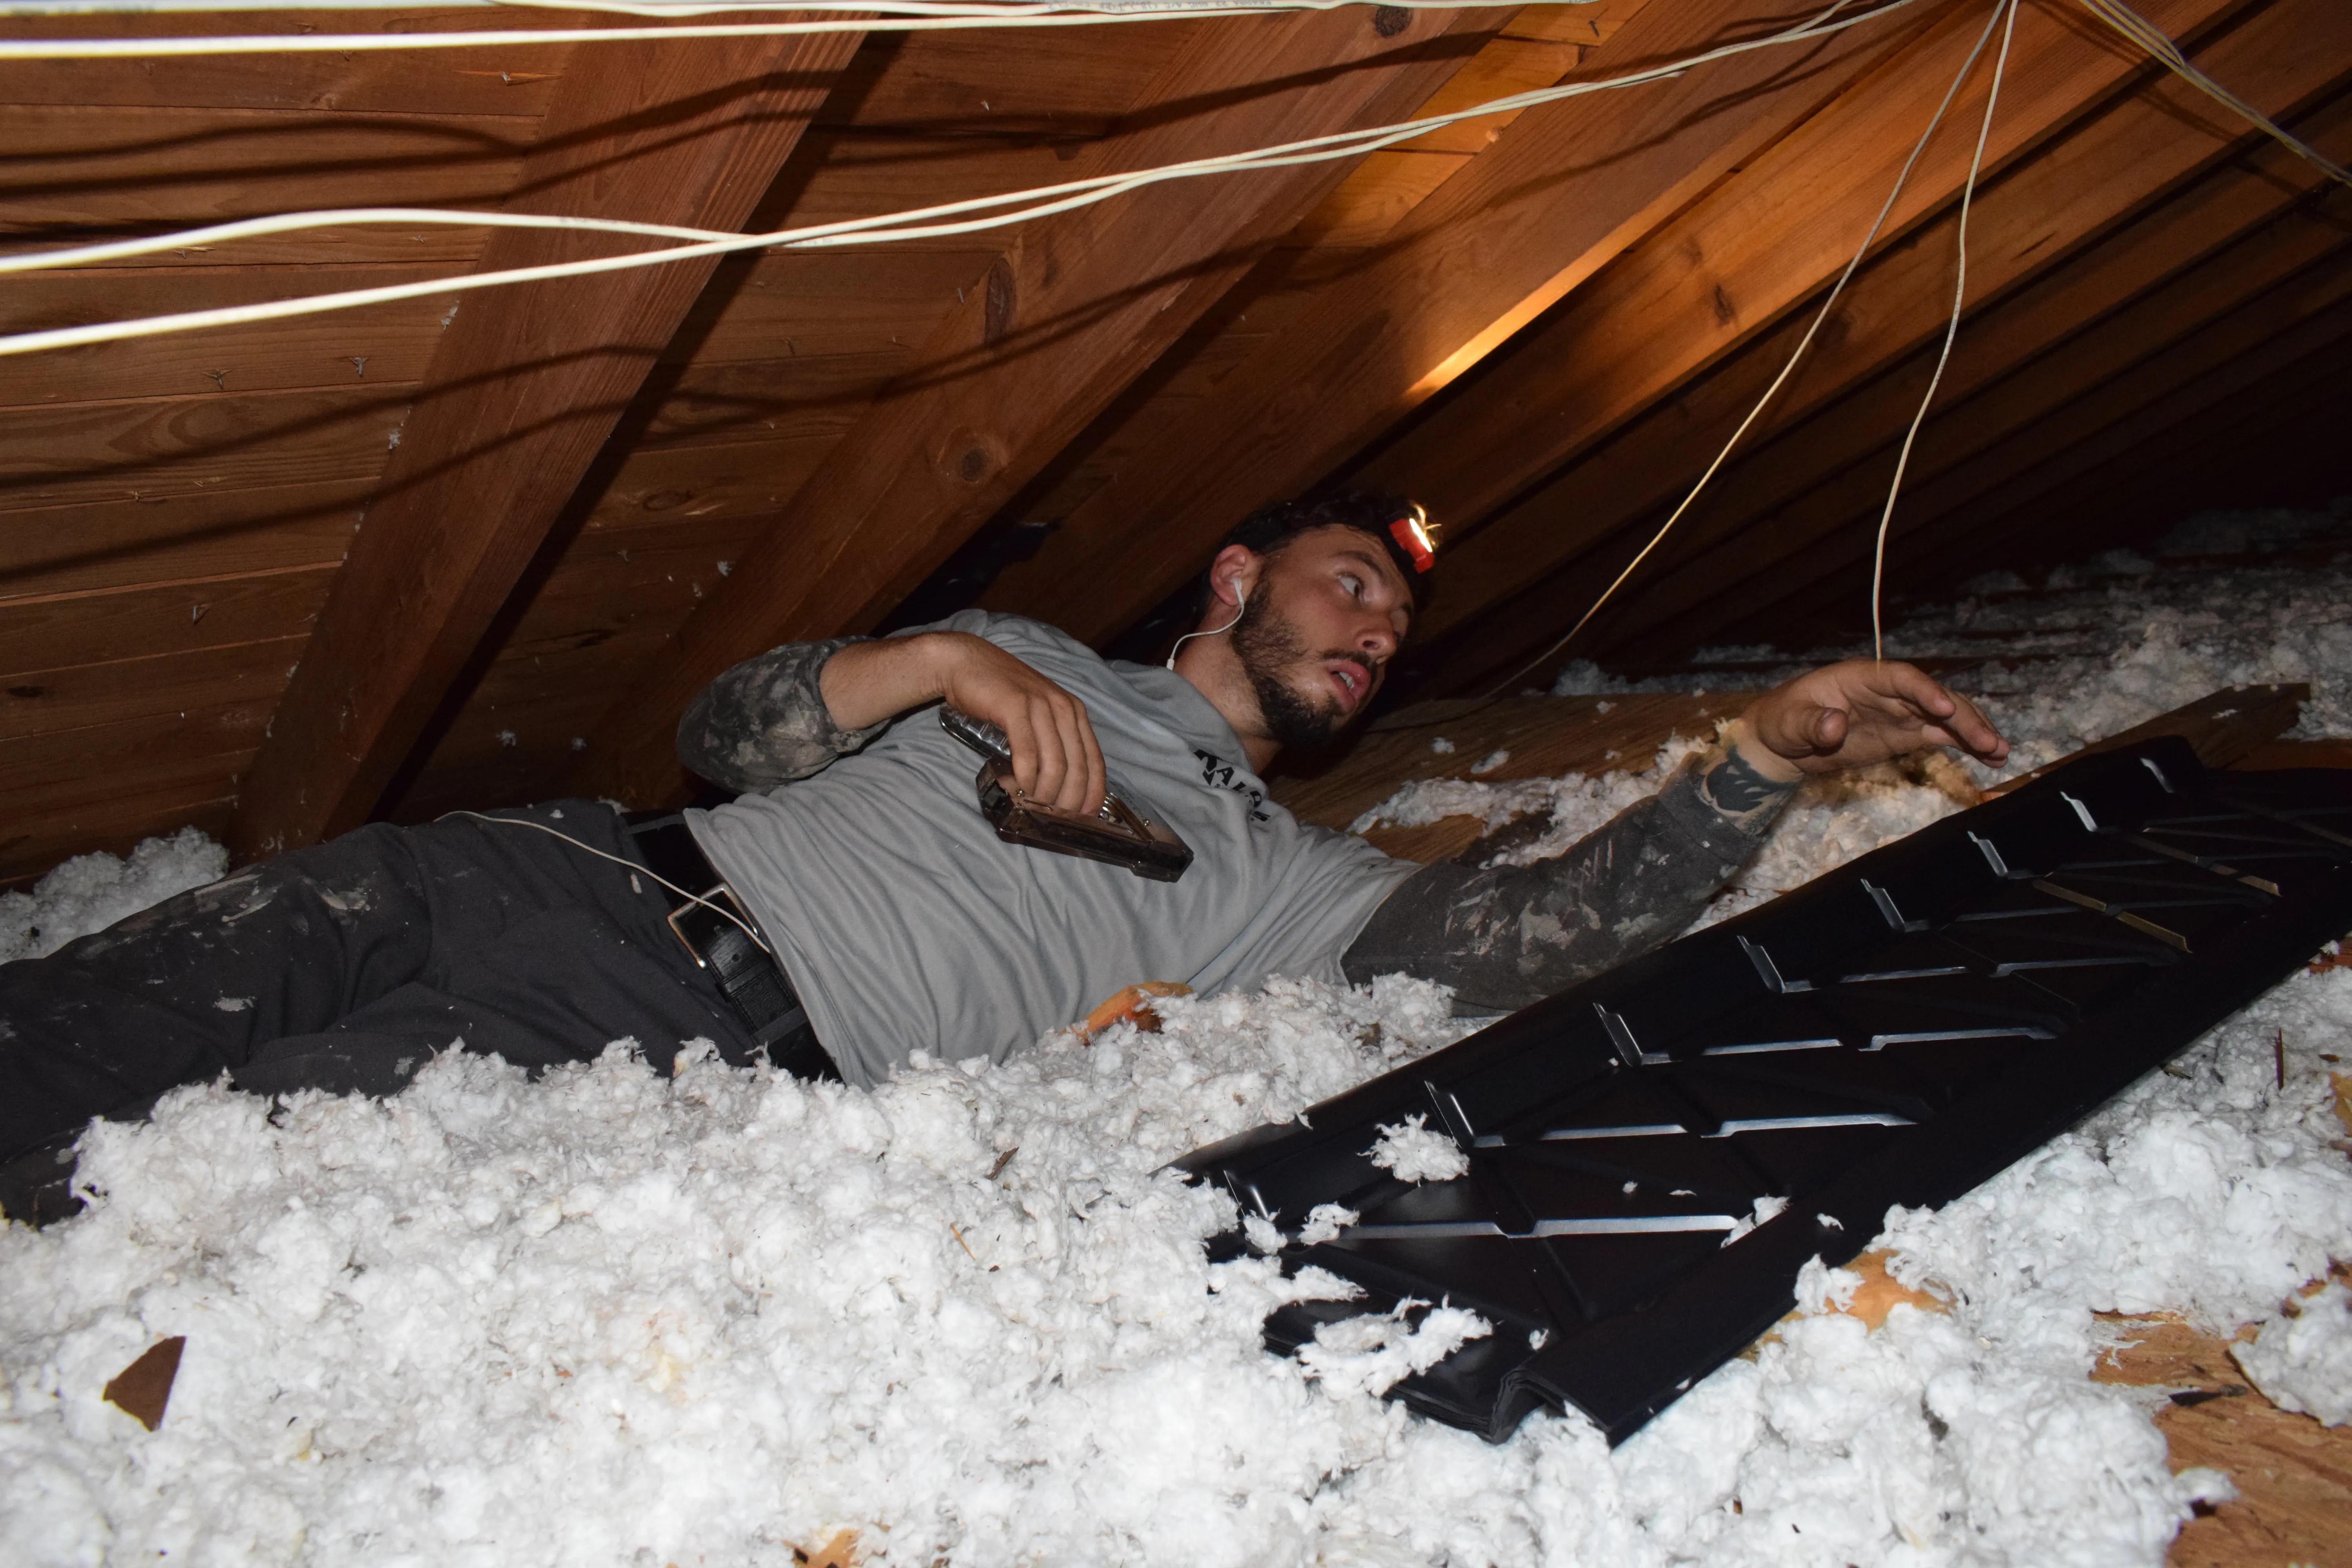
AN ESTIMATOR NEEDS TO CHECK OUT THE ATTIC
Many estimations in this business do not take the proper time to evaluate how exactly an attic should be treated. About three-quarters of the time, the other estimators from another company will simply ballpark the situation from down below in the cool living space so that they don't have to get into the attic, sweat, and get their eyes on what's actually going on up there. In our company's expert opinion, you have to look at something to know how to quote it properly. There are a lot of different variables involved with quoting blown-in insulation, and there's a lot of different solutions out there.
So, in general, make sure that your estimator actually gets up into the attic for about 10 minutes or so to get a good look at everything and take some photos. The estimator should go over the whole plan with you and tell you exactly what you need while also visually showing you. More than likely, you're not going to follow an estimator up into the attic in order to see what they're talking about, so you have to take their word for it. However, make sure that they give you some photos and that the photos are trustworthy.
SEAL ANY PENETRATIONS TO THE ATTIC
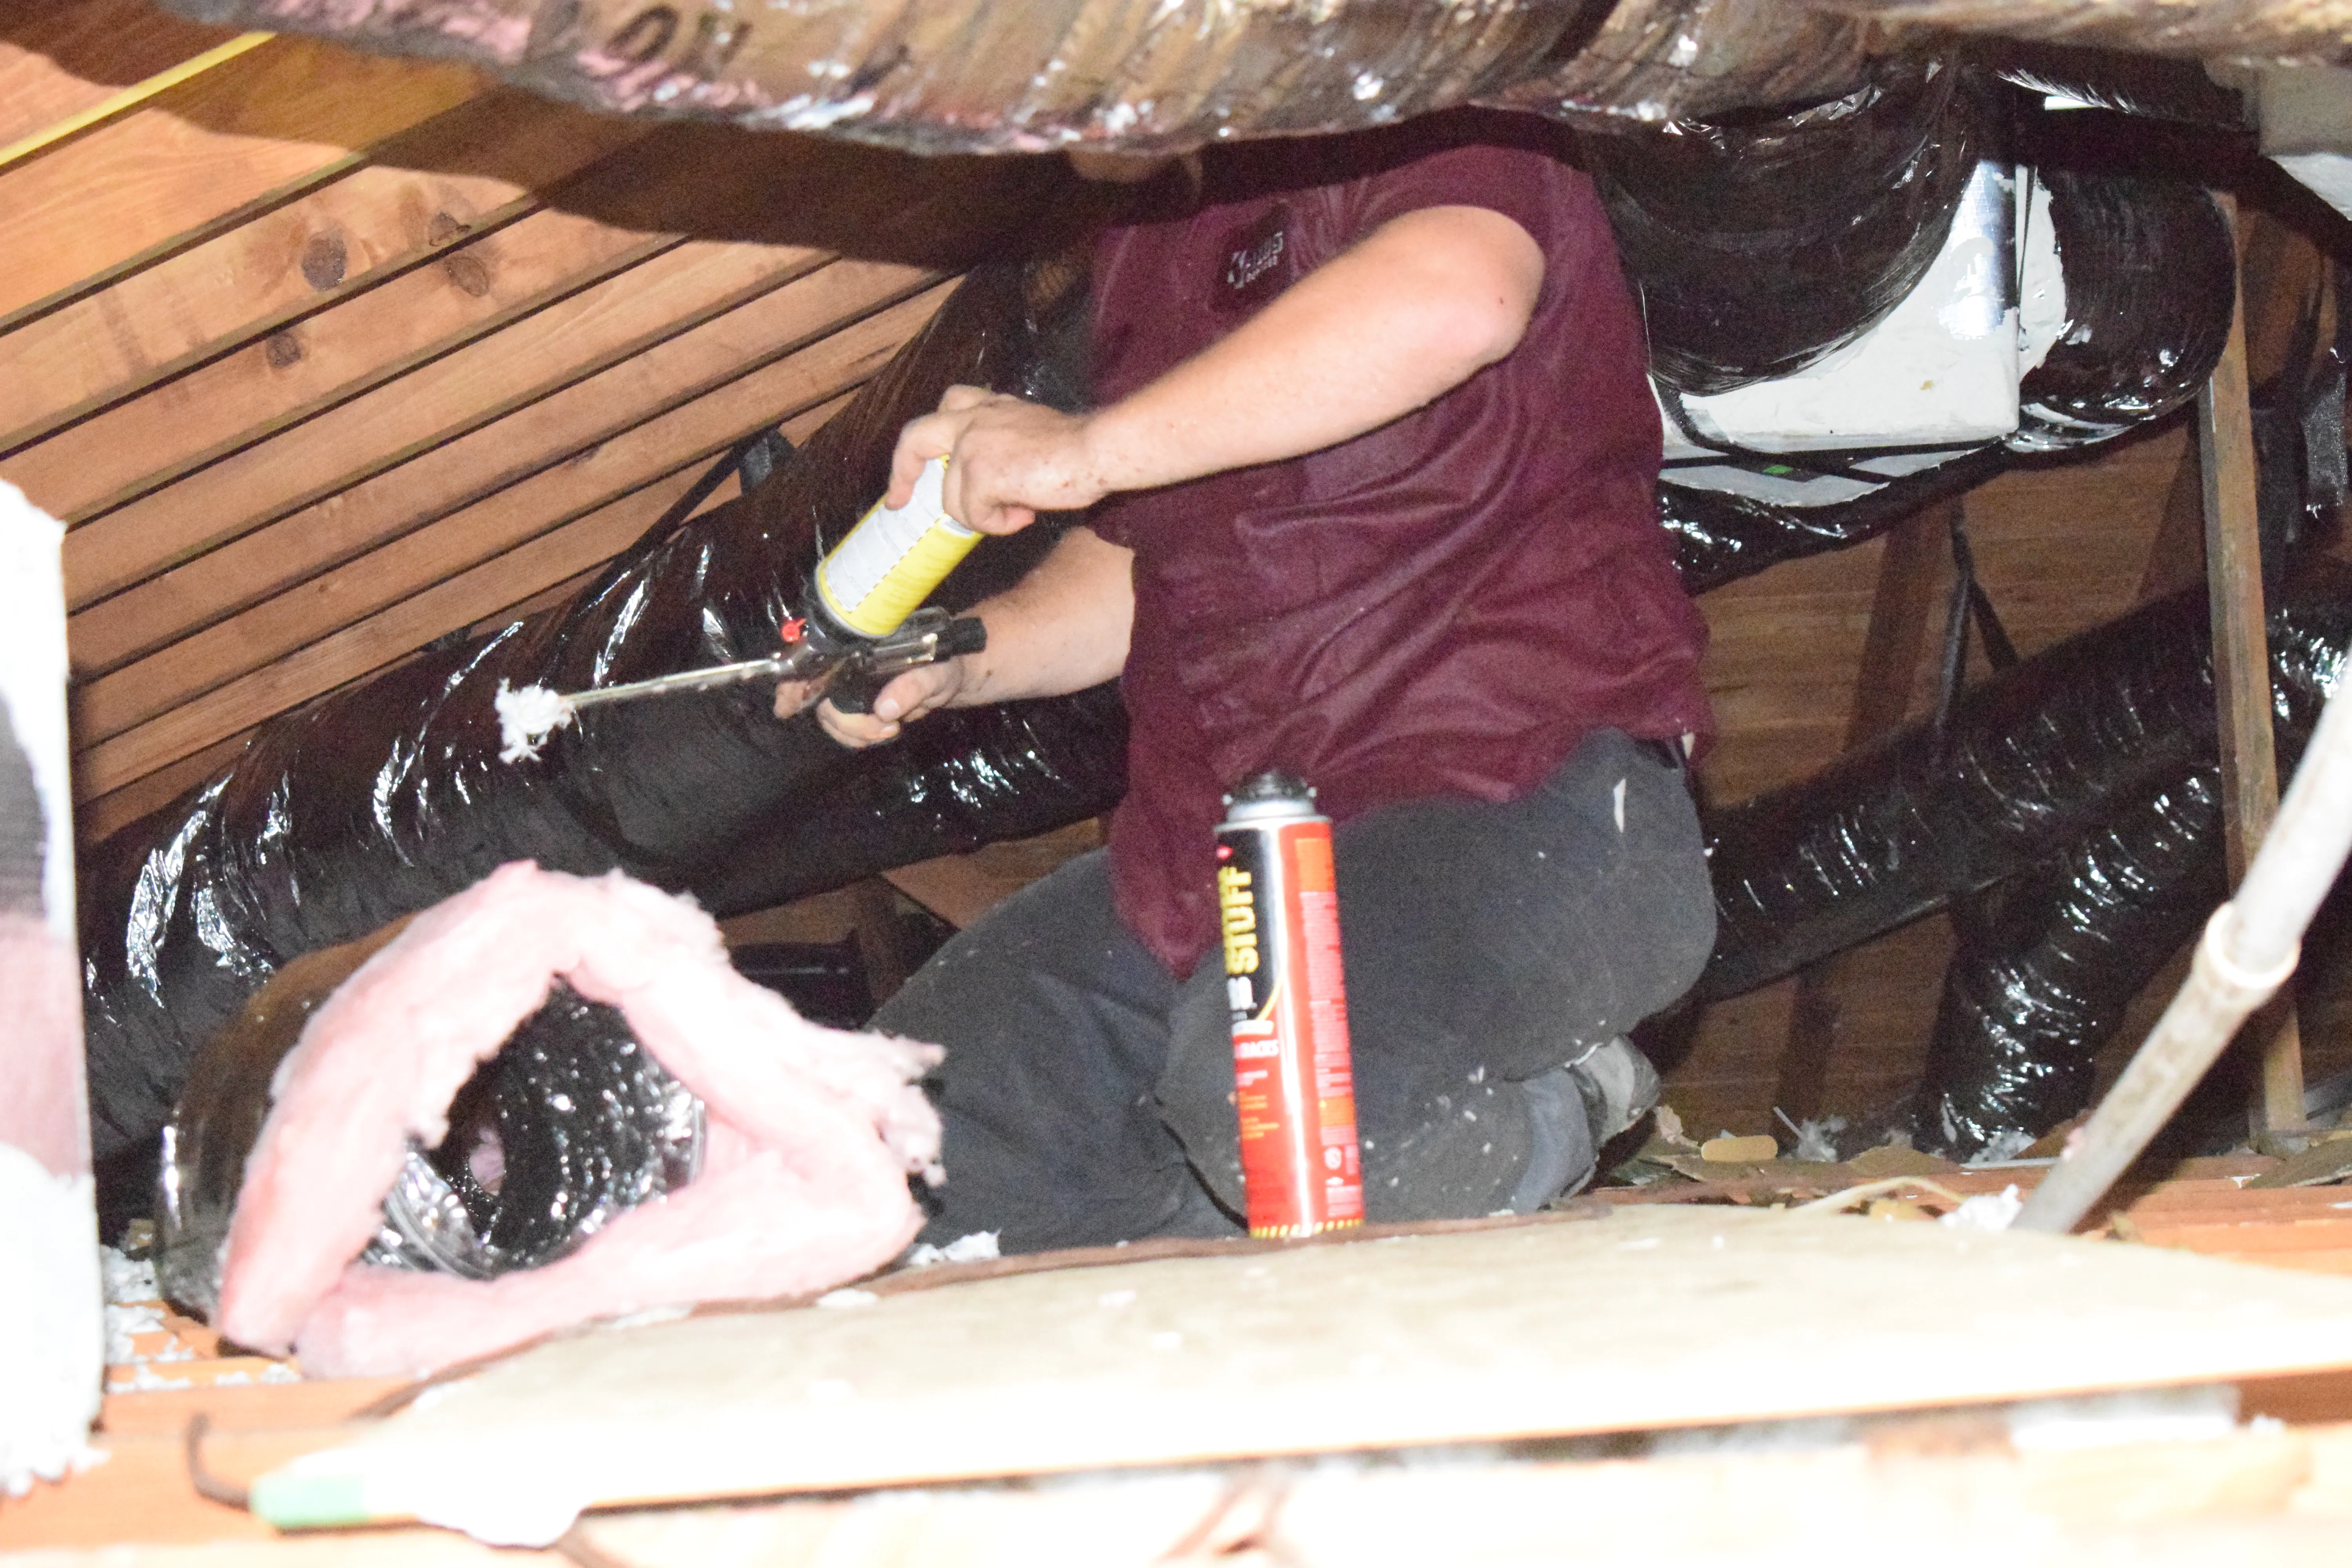
We have found that most homes are pretty leaky and need to be improved with some ceiling work. A lot of times when somebody is insulating and gets quotes for blown-in insulation here in Florida, they are insulating a new addition. For example, they may be insulating a lanai or their garage. There are probably a lot of penetrations into the attic ceiling that had been left unsealed by the general contractor in these areas. That allows for a lot of heat AND humidity infiltration into the space.
Whenever we quote a customer for blown-in insulation, we offer to seal AND insulate the area. We quote this as a package because once there is a lot of blown-in insulation in your way, it only makes it harder to seal up. In order to make sure that the blown-in installation is the most effective insulator that it can be, we seal any penetrations into the attic using a Fonville spray. We install that the morning of the blown-in insulation job. The spray expands to fill any cracks or penetrations in the attic.
SEAL CAN-LIGHTS
Can-lights sit flush with the ceiling of your living space but are actually recessed up into the attic. It's very important to make sure that these are actually sealed by themselves rather than trying to use any sort of spray fall around them. The reasons being that there are electrical processes involved. We never want to compromise any of that kind of material with anything that is flammable.
Through our work, we have found that in The Villages, can-lights are almost exclusively used to light lanais, and they are almost always unsealed and allow the air between the two spaces to mix one way some installation contractors mitigate. We install a cone above each can-light, allowing the area to be sealed from the rest of the attic, and not be touched by the new blown-in insulation. That's not a bad way to accomplish the goal of sealing it, but it's preferable to buy pre-sealed can-lights and install them to replace the existing can-lights in the space.
Many of these sealed the can-lights are actually LED, more energy-efficient, and in the long run saving you money on your power bill. As licensed electrical contractors in Florida, we can offer solutions like installing these sealed can-lights, which can accomplish better energy savings.

SEALING THE ATTIC ENTRANCE POINT
In general, there are a couple of different types of ways you can get up into an attic. There's usually either a set of pull-down stairs or a piece of drywall with a frame that gets pushed up and exposes a large hole to allow access.
Many homes in Florida have the benefit of having an attached garage at the front of the house, so the easiest place for the attic access is to install the pull-down stairs or push-up entrance in the garage space. Unless you are looking to add blown-in insulation into your garage, this is not an area of concern. However, if your attic access is actually within the space that you are looking to cool or insulate, this is a huge point of heat infiltration. If you ever tried to push into an attic entrance that just has blown-in insulation all around it, you'll know what a mess it makes whenever you open the attic. Hatch and blown-in insulation tumble down into your livable space to avoid this and to allow for less heat infiltration.
We actually suggest installing one of two solutions.
The first one that will help just keep the area around the attic hatch clear from any blown-in insulation is to install a barrier wall around the attic access. We built a small barrier wall, a foam board, in order to keep the blown-in insulation from falling down into your livable space. You've paid for us to blow in the insulation, so why would you want it to just fall down and be something that gets vacuumed up or thrown away every time that you go into your attic?
Secondly, we would suggest a large bag filled with insulation and placed directly on top of the attic hatch a stairway, insulate it. Stairway insulator is going to be a little bit different style, but essentially, we're talking about having a moveable piece of insulation that sits on top of the attic hatch entrance and can be placed back whenever the needs to be closed up. That allows for you to make sure that you are not having a ton of heat coming through your attic hatch access point. But at the same time, you won't have a giant mess every time you open it up.
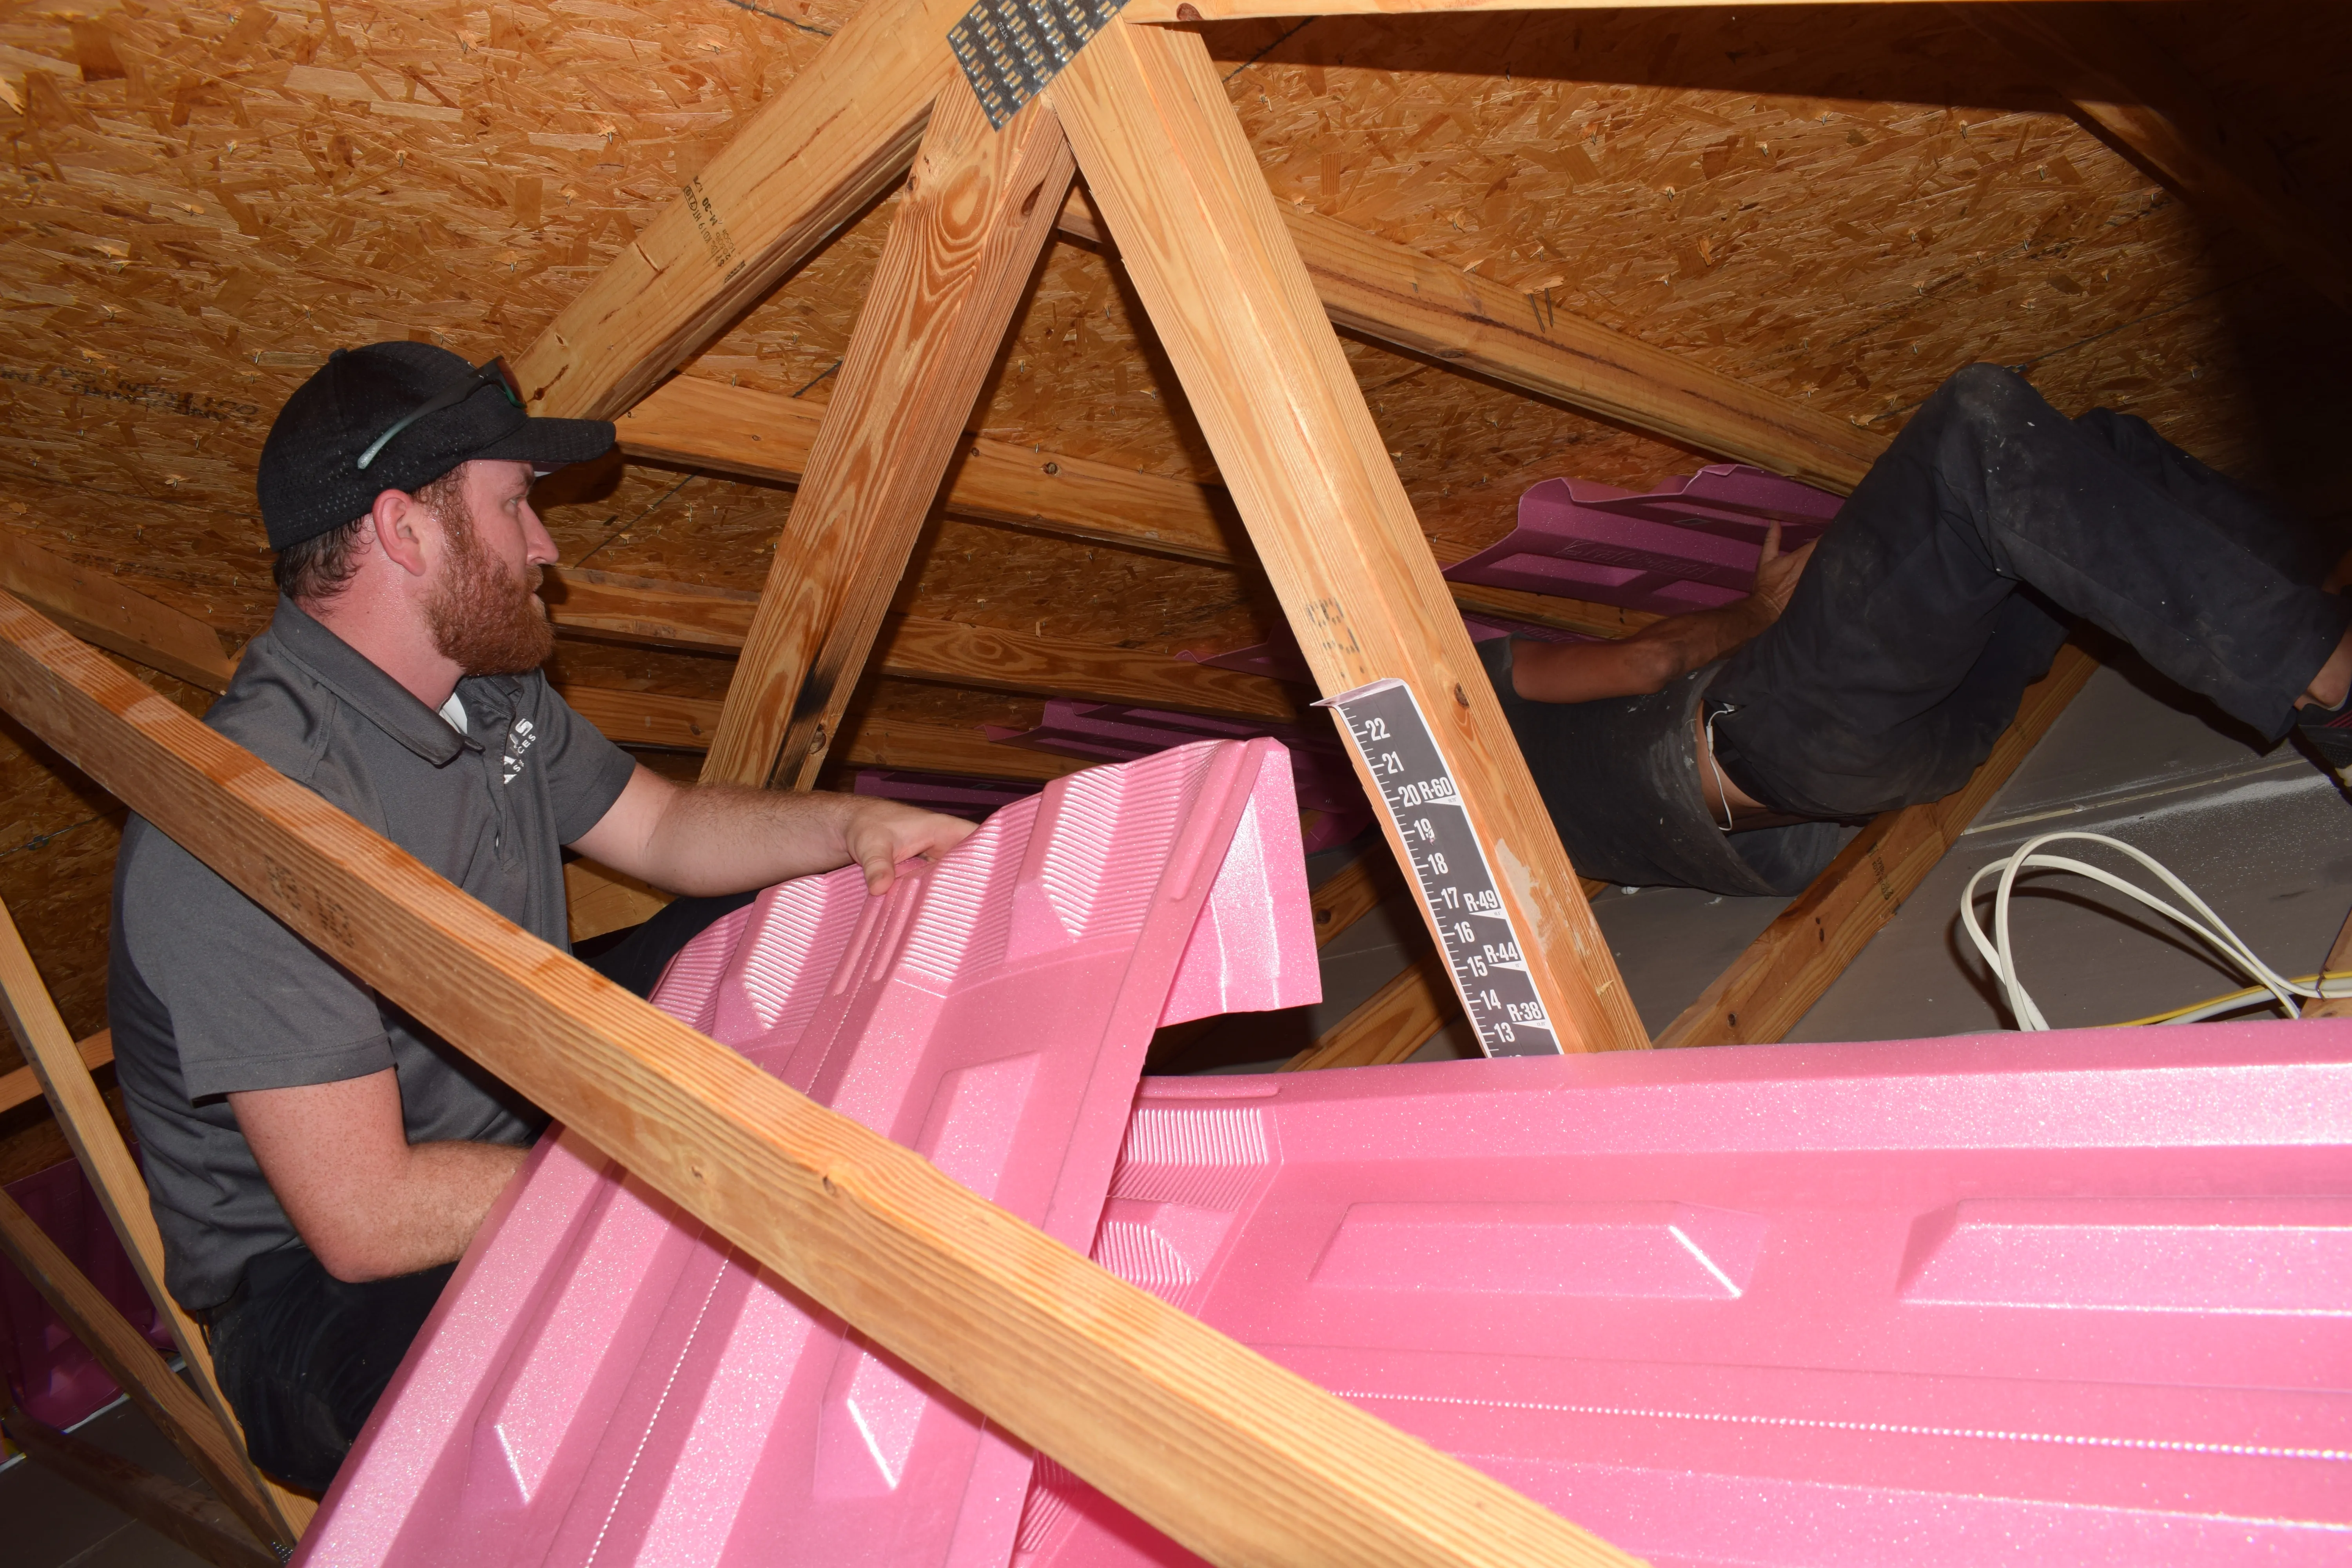
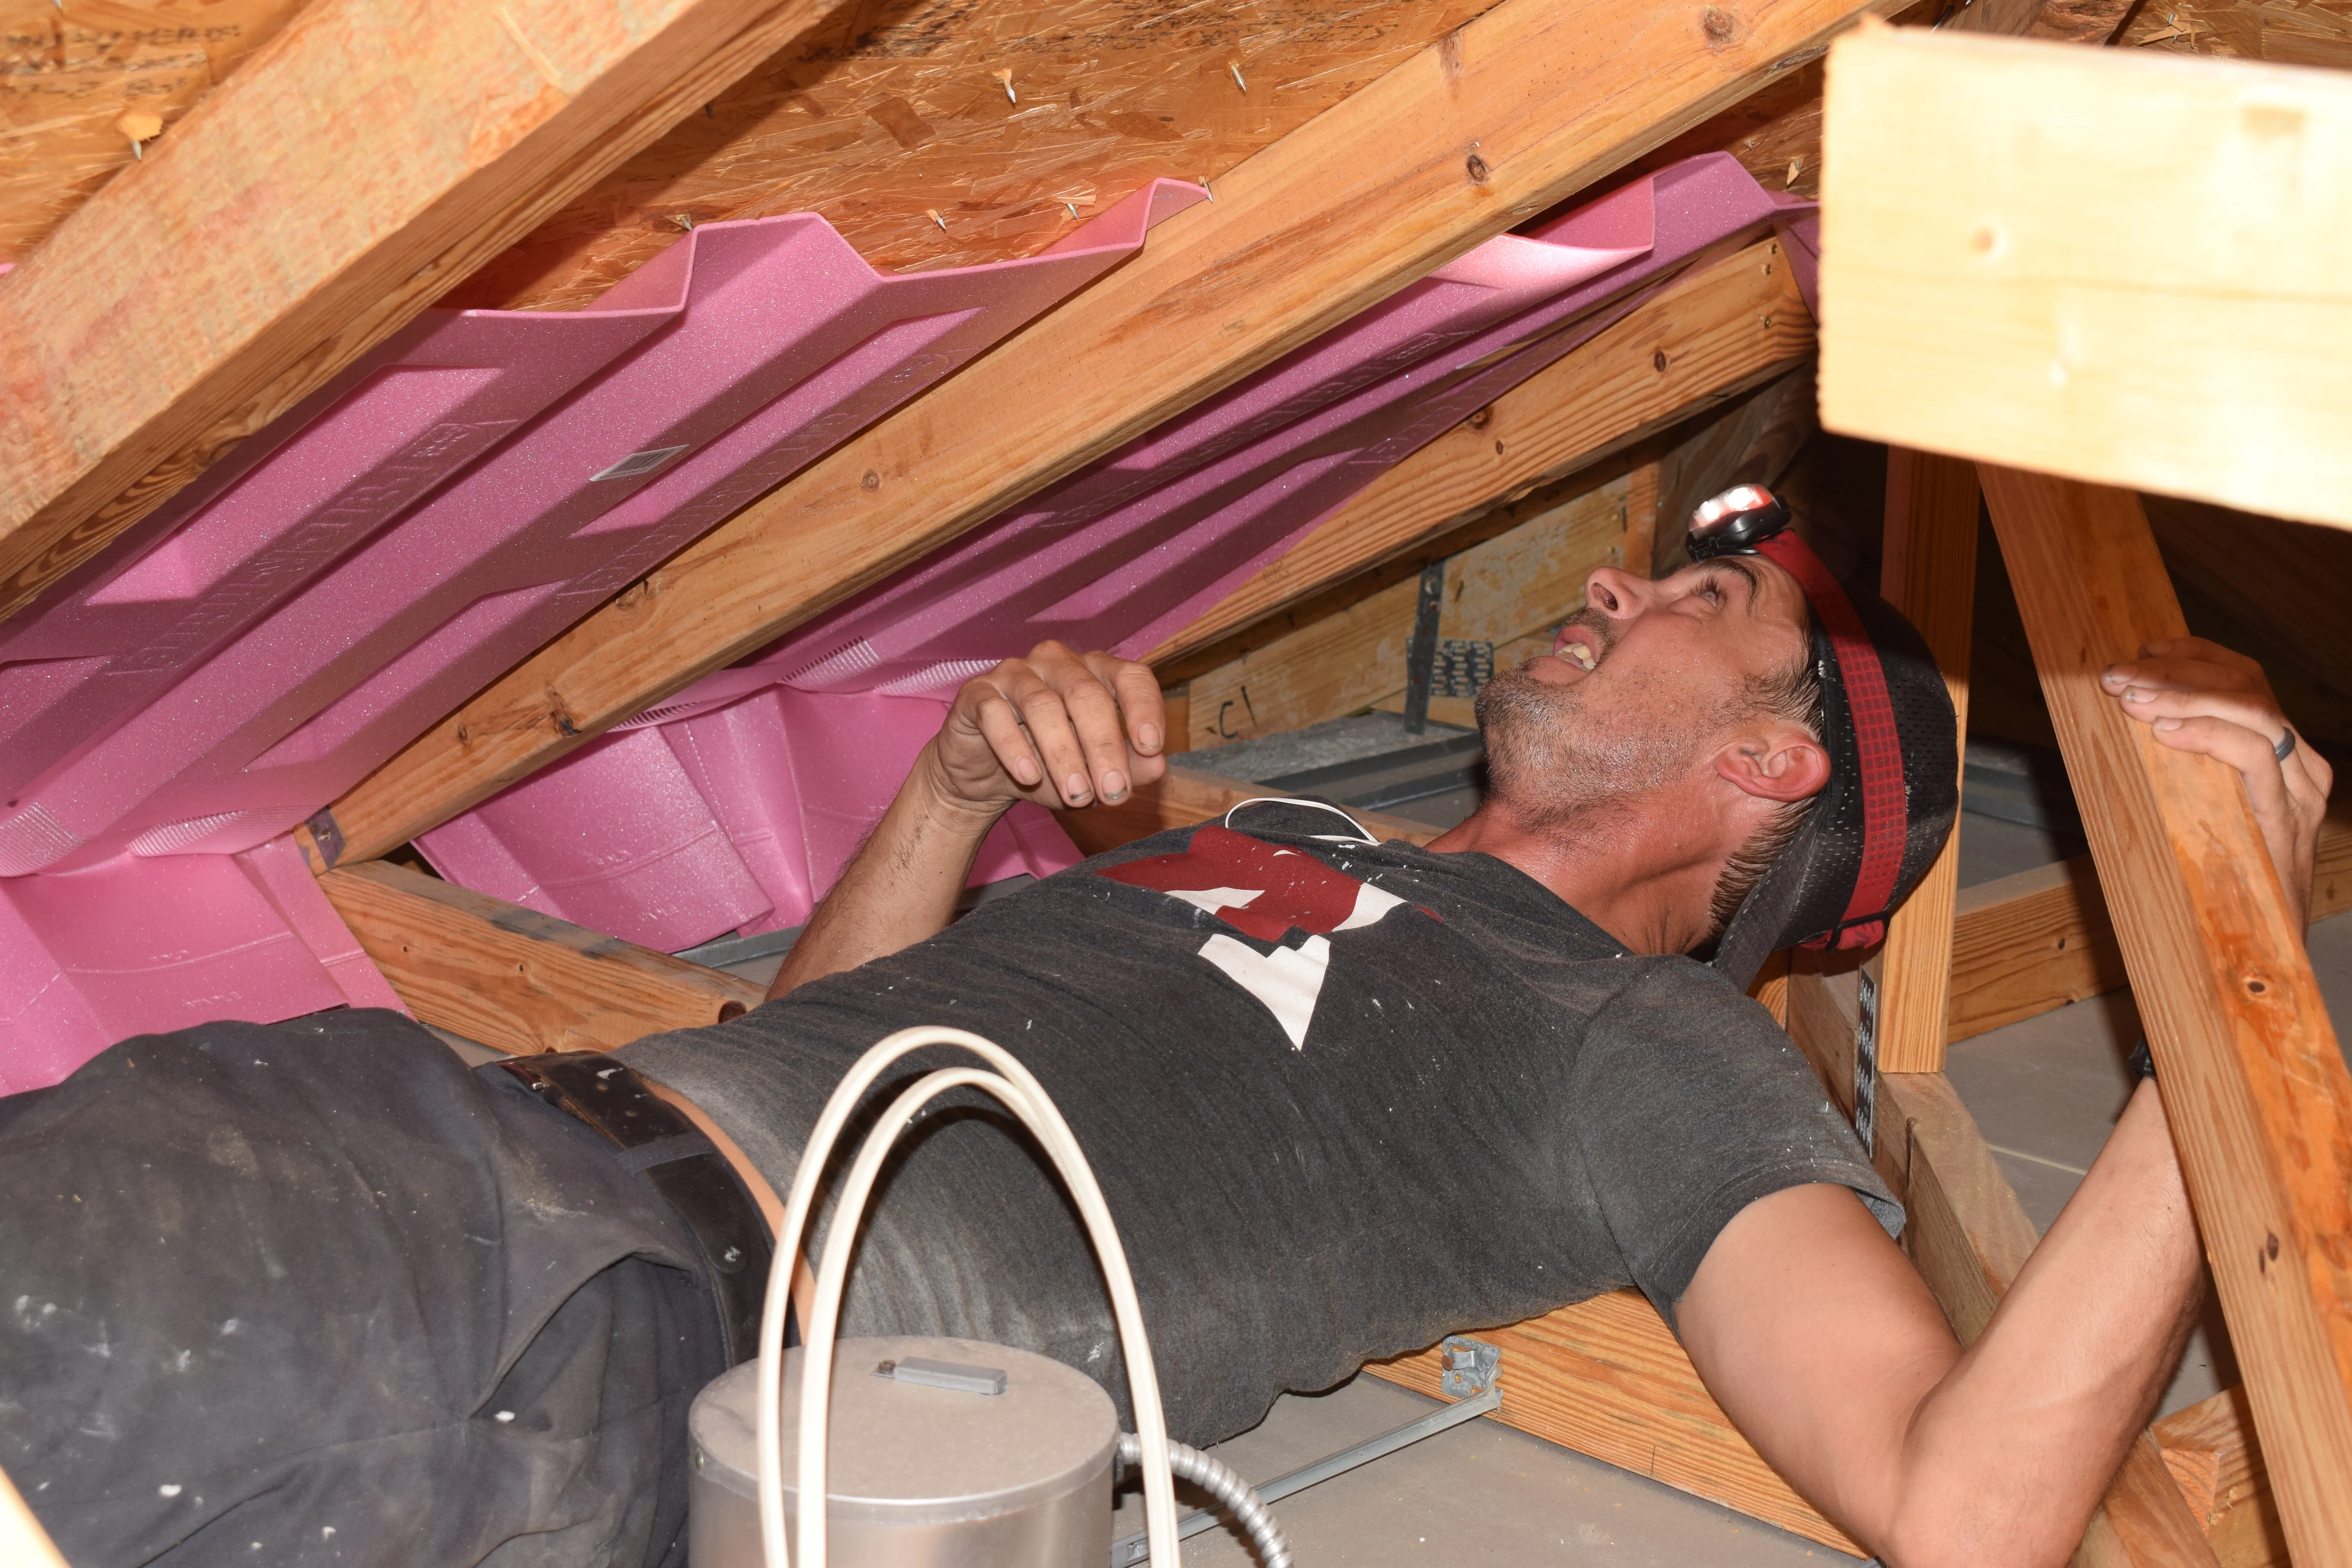
INSTALLING BAFFLES BETWEEN EACH TRUSS
Many contractors leave this step out of their job. They leave it out because it’s simply just not easy and takes time.
Almost every home has a soft, breathable material around the outside edge of the home. This material is meant to allow air to infiltrate up into the attic from outside. So, it allows the attic to breathe and ventilate out of the ridge vents at the top of the roof. The material allows for air exchanges in the attic, so the air doesn't just sit stagnantly, increasing in heat. Many people don't know that their attic is actually open to the elements outside, but it's beneficial to let that heat exchange occur in a controlled manner. The last thing that a customer wants to do when starting one project is to create additional follow-up problems without these baffles in place.
The problem we see many customers have when they hire an unqualified blown-in insulation contractor is that the blown-in insulation usually falls directly down onto those soffit vents and closes them up. When that happens, the soffit vents can't allow air to enter the space and ventilate through to the Richmond at the top of the attic. Essentially, the fallen insulation is sealing in that space, and when it does so, it's actually creating a higher level of humidity and a myriad of other problems.
The solution to that problem is to staple cardboard core polyurethane baffles between each of the trusses in the attic. That allows for a natural barrier to be formed. It also allows the blown-in insulation to bond right to the edge of the attic space without ever falling onto the soffit.
Another central part is to make sure that the baffles are tall enough for the amount of installation that is being installed. The thicker the installation, the taller the baffles need to be. Unfortunately, it is not too easy. Essentially, a technician will need to be on their back, should be through the attic, stopping at every truss bay, and stapling these baffles into place one by one. Take a look at our video below to get a better sense of this procedure.
CONCLUSION
As you can see within our five points, the prep work is everything. The blown-in insulation portion is actually the easiest part of the job. However, if your contractor fails to prepare for the job, you will be setting yourself up for a long list of problems in the future. Make sure you work with trustworthy and detail-oriented technicians to save yourself any headaches. If you have any questions, please feel free to give our office a call at 352-224-3708.