Ductless mini-splits are popular AC systems in many of the communities we serve. Unlike a central air conditioner with a duct system, ductless mini-splits are small units that provide cooling and/or heating to individual rooms. You will usually find them mounted high on the wall or recessed into the ceiling. They are attractive options for sunrooms and lanais because they can control the temperature in those small areas year-round without making major ductwork renovations.
As with any other kind of AC unit, ductless mini-splits benefit from routine maintenance. Since these units are usually visible in the living space, odors and soil are more of a problem than if the units were tucked away in a garage or closet, and regular maintenance will help reduce the likelihood of those problems (and operational ones) over the course of the unit's life.
WHY DO I NEED MAINTENANCE ON MY MINI-SPLIT?
On any type of AC unit, regular maintenance helps prevent underperformance, poor indoor air quality, and premature failure. Since ductless mini-splits are so small, they don't hold a lot of refrigerant (also known as “Freon”). A tiny leak may not significantly affect a typical AC system or heat pump for a while. However, you'll be much more likely to notice a performance drop with even small leaks if you have a mini-split system. Maintenance procedures for mini-splits often include checking those refrigerant levels to make sure the amount is just right to keep you comfortable.
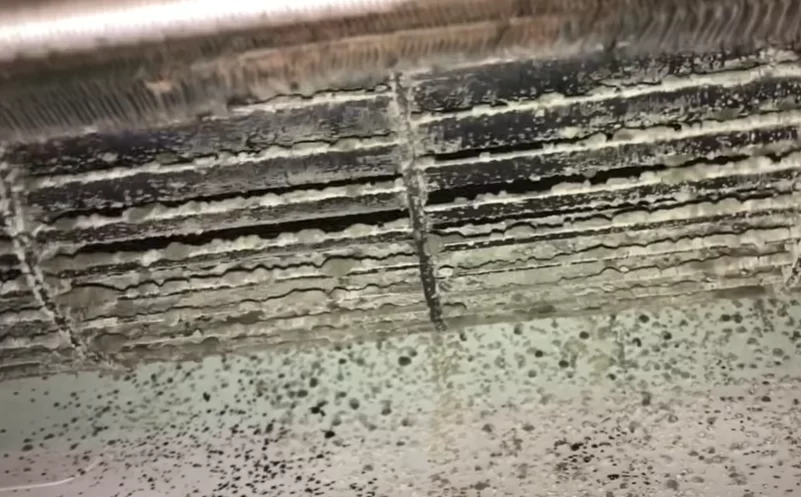
Mini-splits are also more likely to be in the living space. The sights and smells associated with dirty blower wheels are a much more significant comfort concern. Not to mention, dirty blower wheels and filters reduce the air quality in your home.
That's all to say that with a good maintenance plan in place, you can expect better air quality, a more comfortable home, a more efficient HVAC system, and a longer-lasting unit.
WHAT TO EXPECT ON A MAINTENANCE CALL FOR A DUCTLESS MINI-SPLIT

So, it's time to have your mini-split cleaned and maintained. You're probably wondering what the technicians will do inside your house when you schedule this type of procedure. So, what can you expect on the day of service?
Preliminary conversations
Our techs should call you to let you know when they are on their way and when you can expect them to arrive. When our techs arrive at your home, they will put shoe covers on, greet you, and discuss the scope of the plan. The scope of the plan includes the maintenance procedures they'll be doing and an approximate timetable of completion. If you have noticed anything strange going on with your ductless mini-split, now is the time to let the technician know. The technician will inspect the system anyway, but they'll be extra diligent if you bring any concerns to their attention.
If any payment is due at the time of the service, the technician will also let you know and ask you how you would like to pay.
Preparing for the cleaning
The technician will start by inspecting the entire system, including the coil's cleanliness, listening for noises, examining the tightness of electrical connections, and assessing the outdoor line set location and insulation.
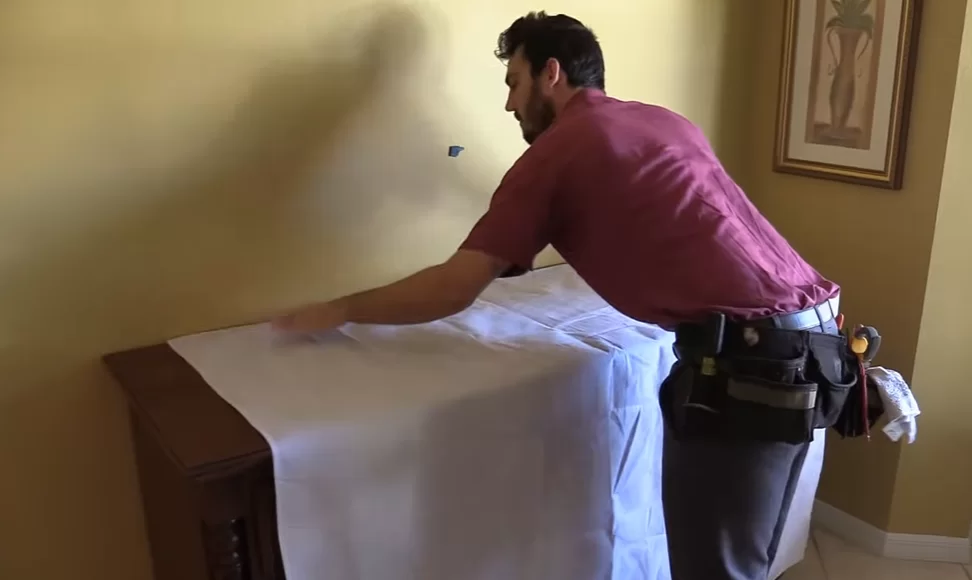
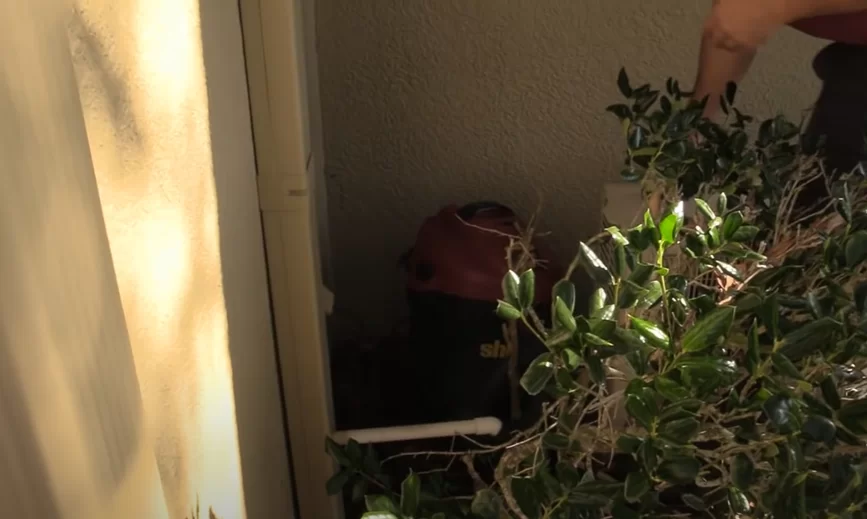
Before cleaning, the technician will need to shut off the power to the mini-split. Once they have confirmed that the system is off, they will lay drop cloths down to protect the floors and surfaces below the unit. In many cases, they'll also connect a shop vacuum to the drain line to help clear out the drain before taking anything apart indoors.
Then, they will disassemble the head(s). Some units may not need complete disassembly if the coil and blower are still in good condition, but the filters will almost surely need to come out and be washed.
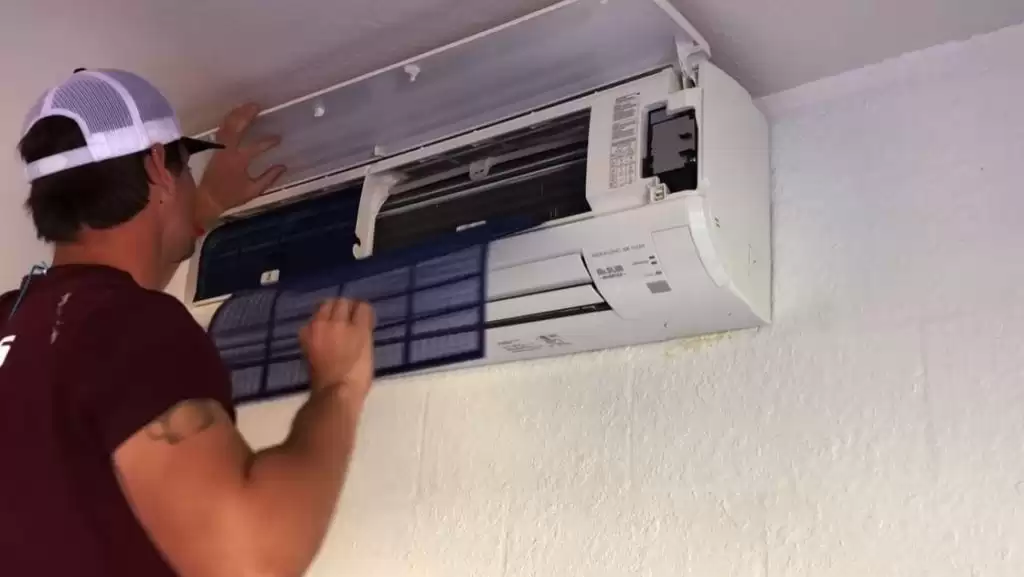
If needed, the technician will continue taking apart the unit by removing the vanes on the bottom. In some cases, the technician will remove the face of the unit and likely wash it outside if they deem it necessary.
Sometimes, the blower wheel will also need to come out. When it does need to be cleaned outside, the technician will release the drain pan and let it hang down from the system. (We train our techs to make sure there's no water in the drain that'll splash on anything.) Then, the technician can lift the coil and access the blower wheel; they will loosen a set screw and remove the blower wheel from the unit.
The actual cleaning
The technician will wash the filters and any other disassembled parts outdoors with a hose and give them ample time to dry. Clean water will suffice for most cleanings, but we sometimes need to add non-toxic enzyme-based cleaners to exceptionally dirty units. The outdoor coil also needs cleaning and upkeep, so the technician will go outside and rinse the outdoor unit. If you have a regular maintenance schedule, then the outdoor unit shouldn't get too dirty between maintenances.
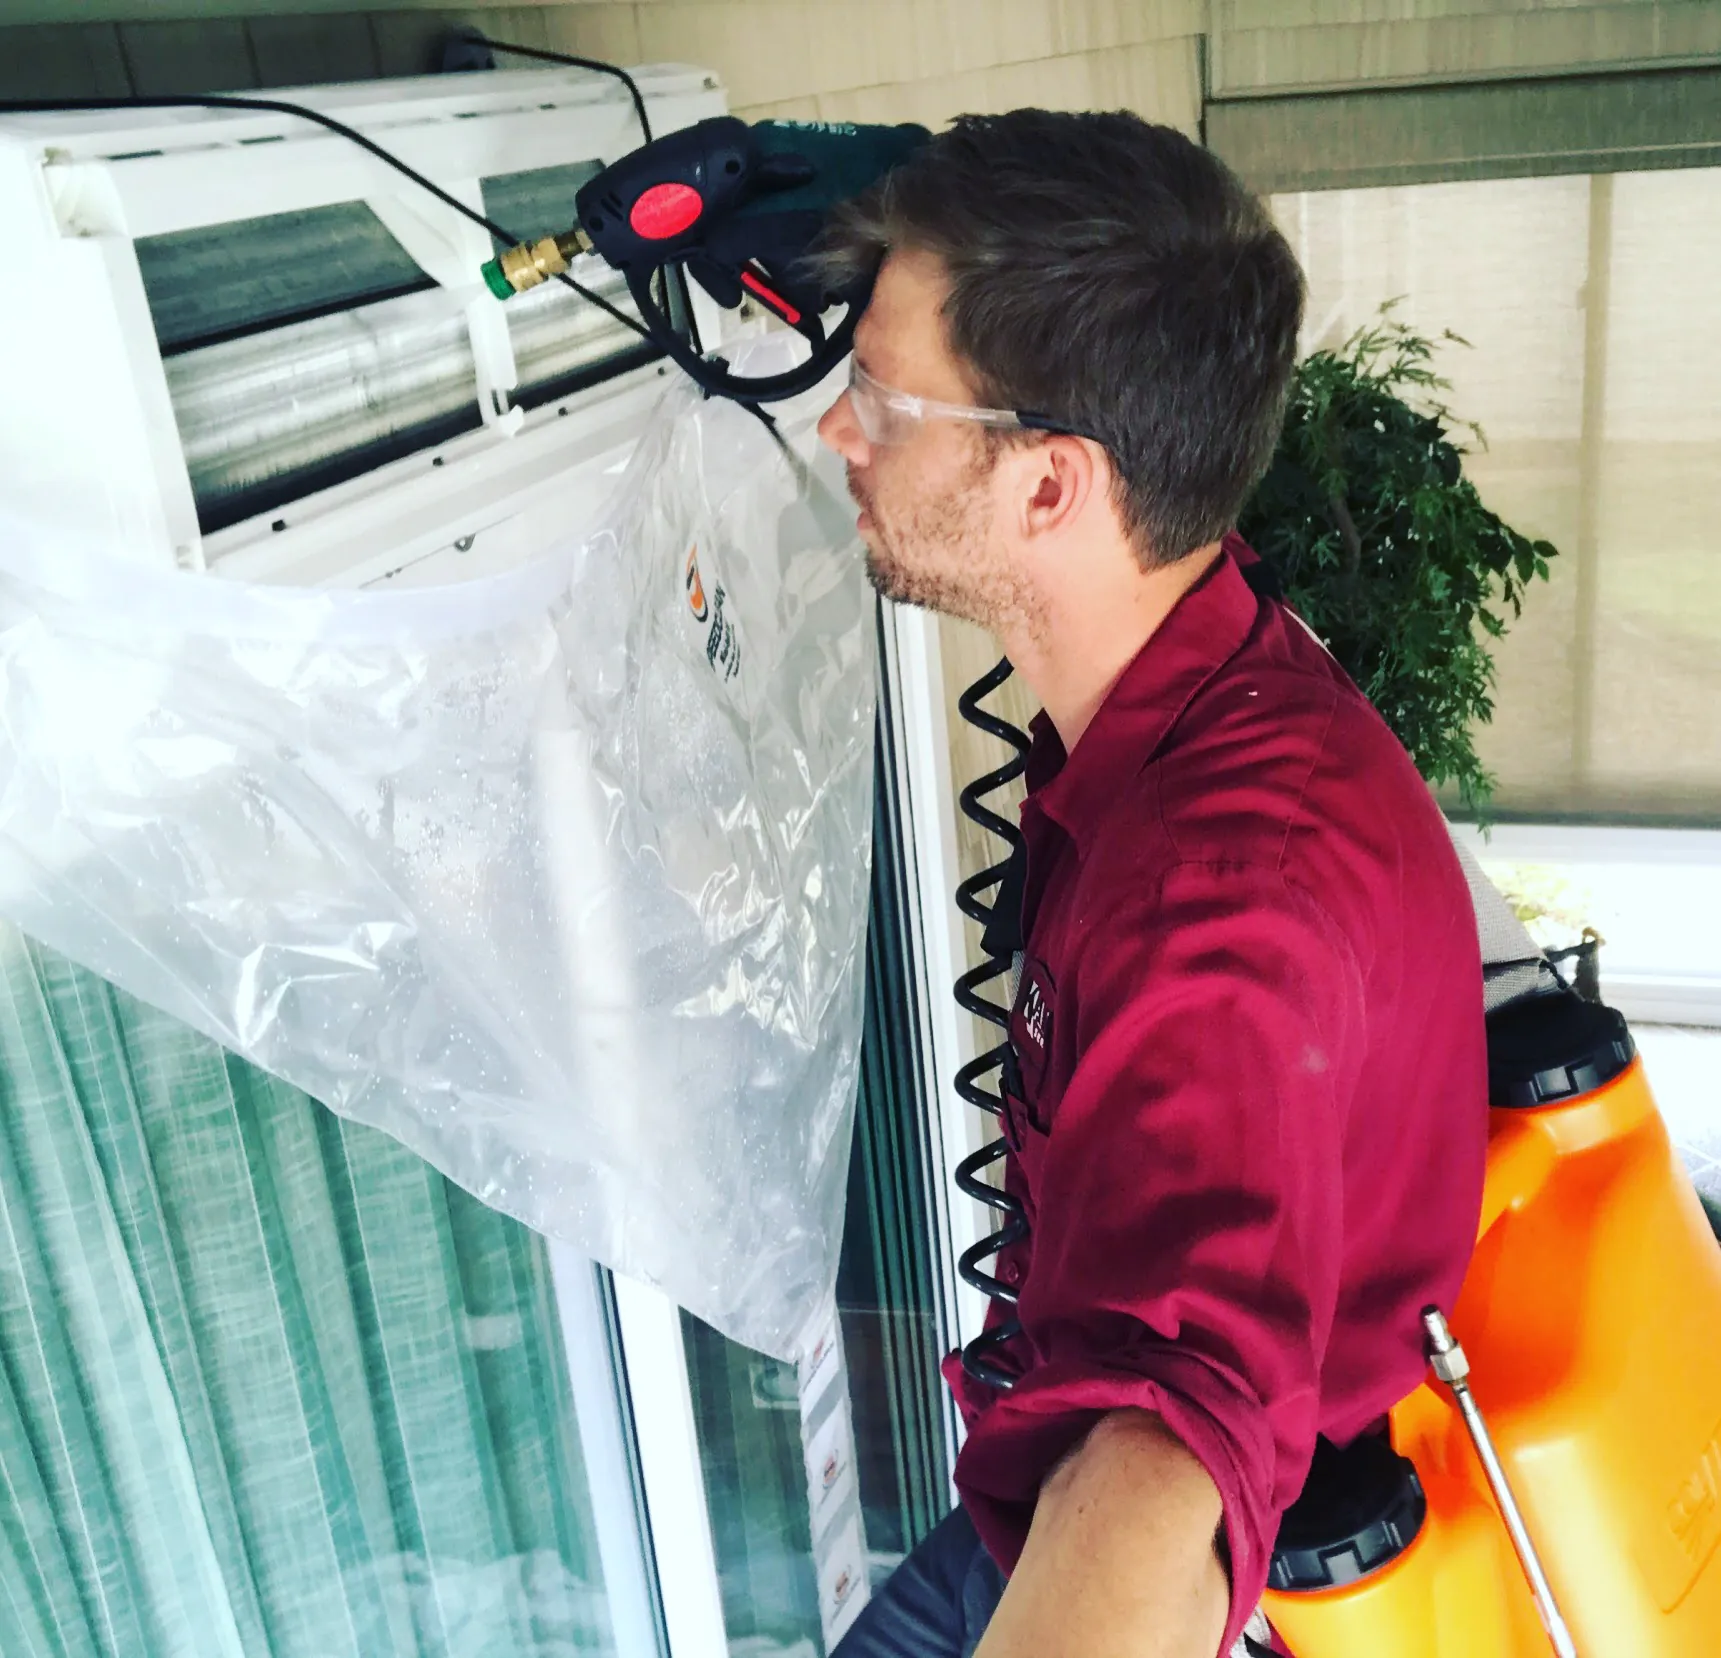
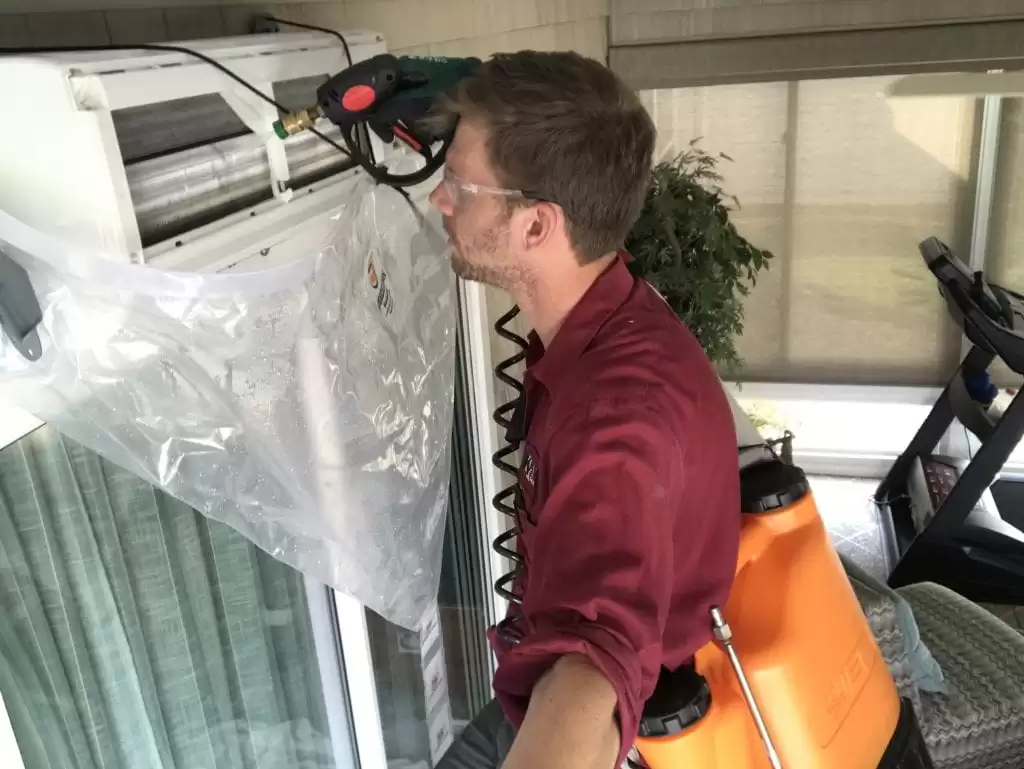
One way to clean the coil indoors is to use a bib, which is a large funnel-like bag that mounts to the unit and drains the water into a bucket below. Again, in many cases, the unit can be cleaned with just water, though we may need to use non-toxic cleaners for exceptionally dirty systems.
The technician will give everything ample time to dry before reassembling the mini-split. They'll also wait to make sure that the unit itself is dry before running the unit. There may still be a little bit of moisture on the blower wheel when the unit first starts up, so the technician will likely keep the drop cloth and bib in place to prevent splashing.
Cleaning and maintaining the drain or condensate pump
The technician will usually clean the drain while reassembling the unit. If the shop vacuum is already attached, the technician can simply flush water through the drain. The technician can usually wipe the drain pan clean, but flushing water ensures that the drain line is clear.
Not all units will have condensate pumps; many just have a drain that relies on gravity. However, the ones that do have a pump will have a reservoir behind the indoor unit. The technician will pop off the top of the reservoir, clean it out, and disconnect the reservoir to clean the tubing. They'll also make sure that there aren't any patches of growth blocking screens, sensors, and other important parts.
In particularly stubborn drains or condensate pumps, the technician could potentially blow compressed air or nitrogen into the drain. However, flushing the drainage systems with water will often be good enough.
Before the technician leaves, they will check to make sure that the unit is draining as it should. They'll also make sure that the drain is insulated and that it doesn't have any signs of damage or deformities.
CHECKING THE PERFORMANCE
The technician should wait until AFTER the cleaning to check the performance. That way, a dirty filter or blower wheel won't skew any of the measurements. The unit should run for about 15-20 minutes to give the components time to dry and equalize before the technician starts checking the performance.
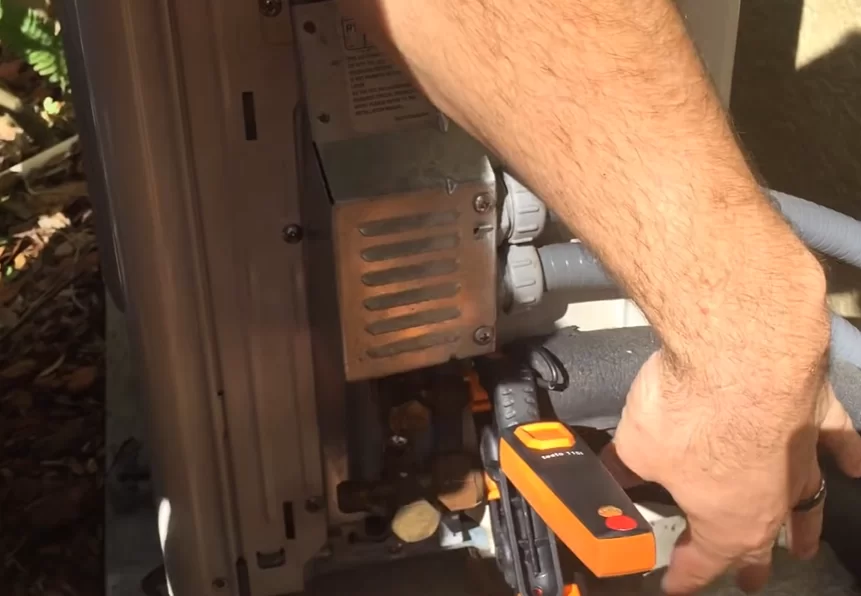
Mini-splits don't contain much refrigerant, so our techs try to minimize losses; they typically use probes or temperature clamps rather than gauge manifolds whenever possible. Technicians will also check the electrical components, ensuring that the voltage and amperage are all within an acceptable range. While the unit runs, the tech will also check the refrigerant line temperatures and airflow, as well as listen for abnormal sounds.
In some cases, we pull the refrigerant charge out of the unit and weigh it if the line temperatures seem off. If there is enough refrigerant, we'll return it to the system. Sometimes, there will be too much refrigerant or too little; the technician may have to add or recover some refrigerant.
When the technician finishes, they'll clean up the job site and have a closing conversation recapping everything they did and giving you an opportunity to ask questions before they go.
The entire maintenance procedure may take up to a few hours, especially if you have multiple ductless heads you want the technician to maintain, but it's necessary to keep your mini-split working at its best to keep your home healthy and comfortable. A good maintenance program is a key part of owning ductless mini-splits, and HVAC companies like Kalos can offer regular, thorough maintenance for your ductless mini-splits.