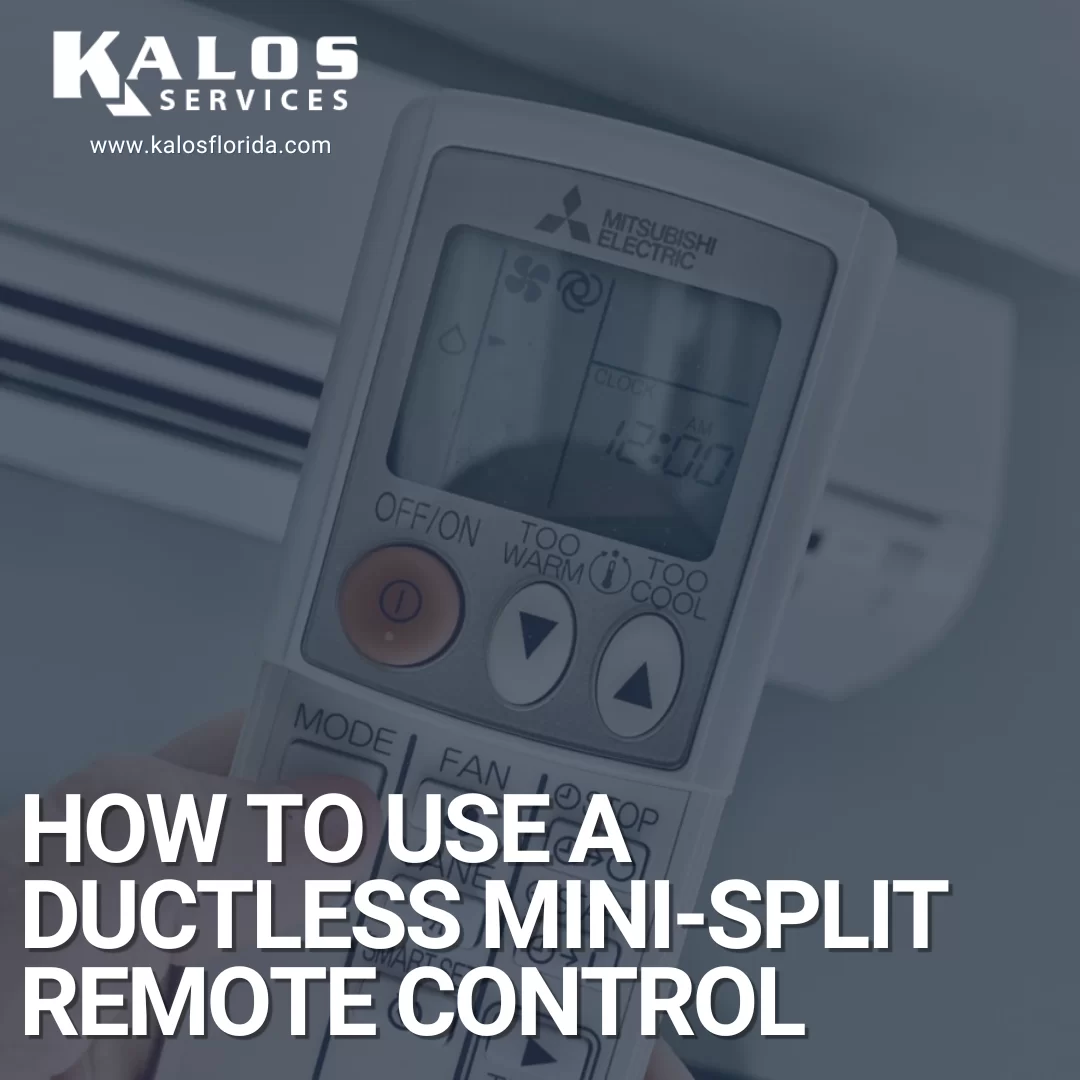
Ductless mini-splits are compact A/C units that can control the temperature in an individual room. They’re especially popular in garages and lanais because they can keep these spaces cool without needing to rethink the ductwork or vents, and they’re very efficient. Unlike a typical central A/C unit, a mini-split doesn’t have a traditional thermostat. Most of the time, a ductless mini-split will come with a remote control.
However, these remotes can sometimes be a bit confusing because they have a lot of buttons and operating modes. There is indeed a bit of a learning curve, but it’s nothing we can’t clear up. We’re going to go over a quick guide showing how to use your ductless mini-split’s remote control—specifically a Mitsubishi ductless remote. We will also show similar functions on a Daikin ductless mini-split remote to show how similar the mini-split remotes are across brands.
Basic Layout
Most ductless manufacturers’ remotes have buttons and a screen on them.
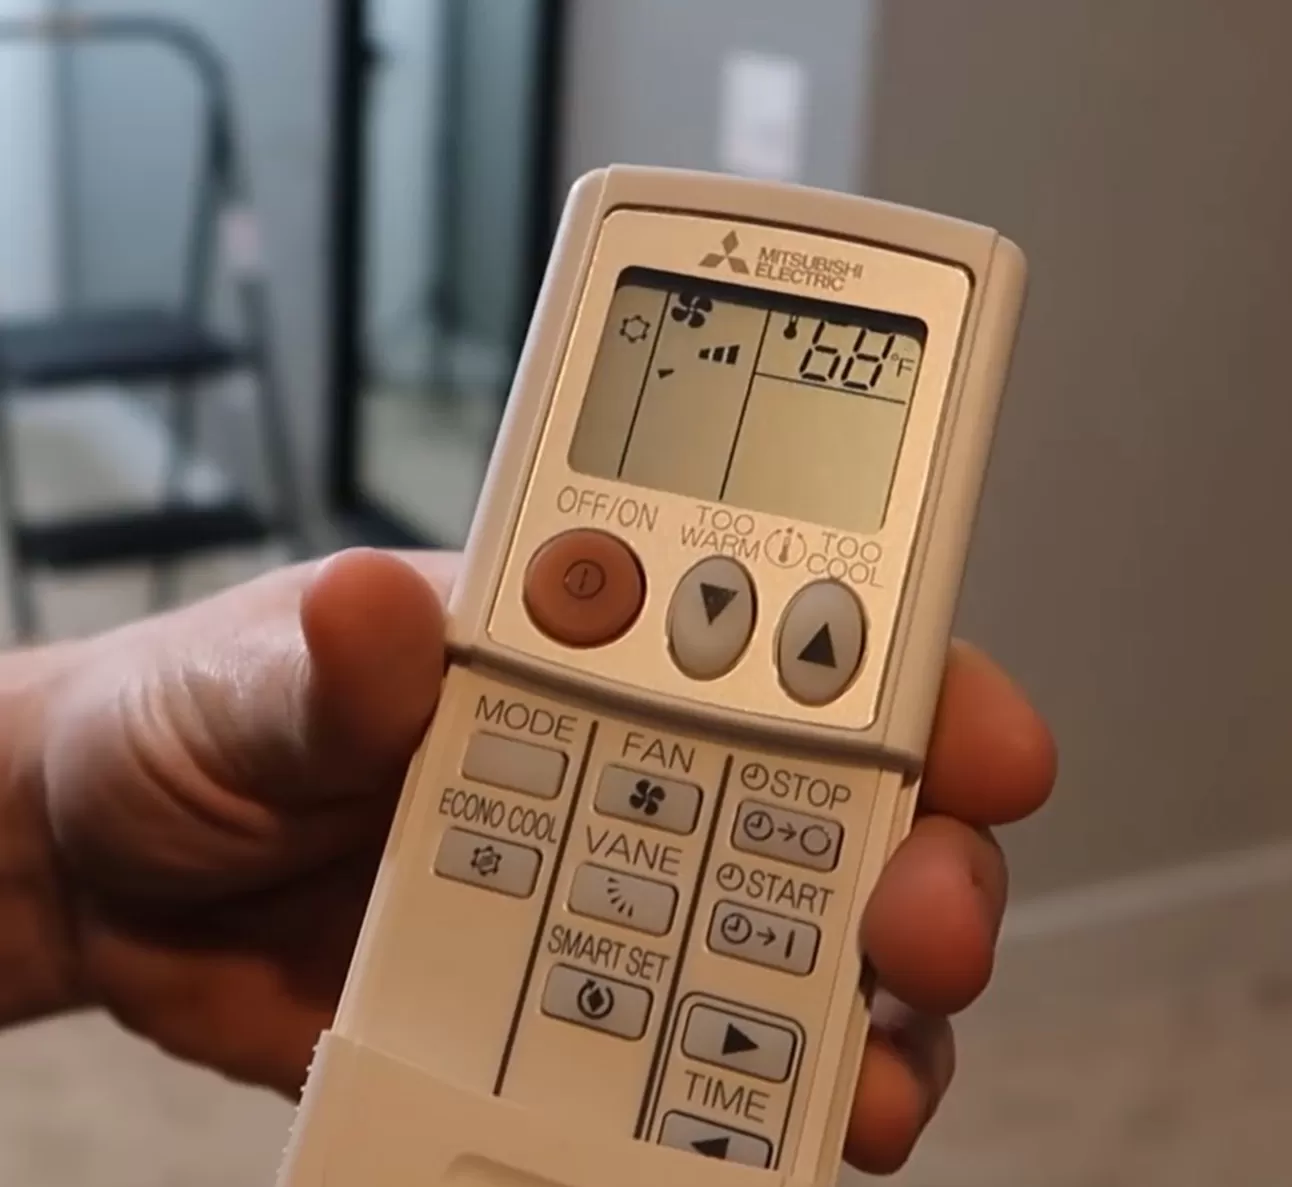
In a Mitsubishi remote, the top row of buttons contains the on/off button, which turns your unit on or off. It also contains temperature buttons to adjust your set point, which is the desired temperature that the A/C unit will work to maintain. You can set a different set point for different modes (e.g., 72°F for heating and 75°F for cooling).
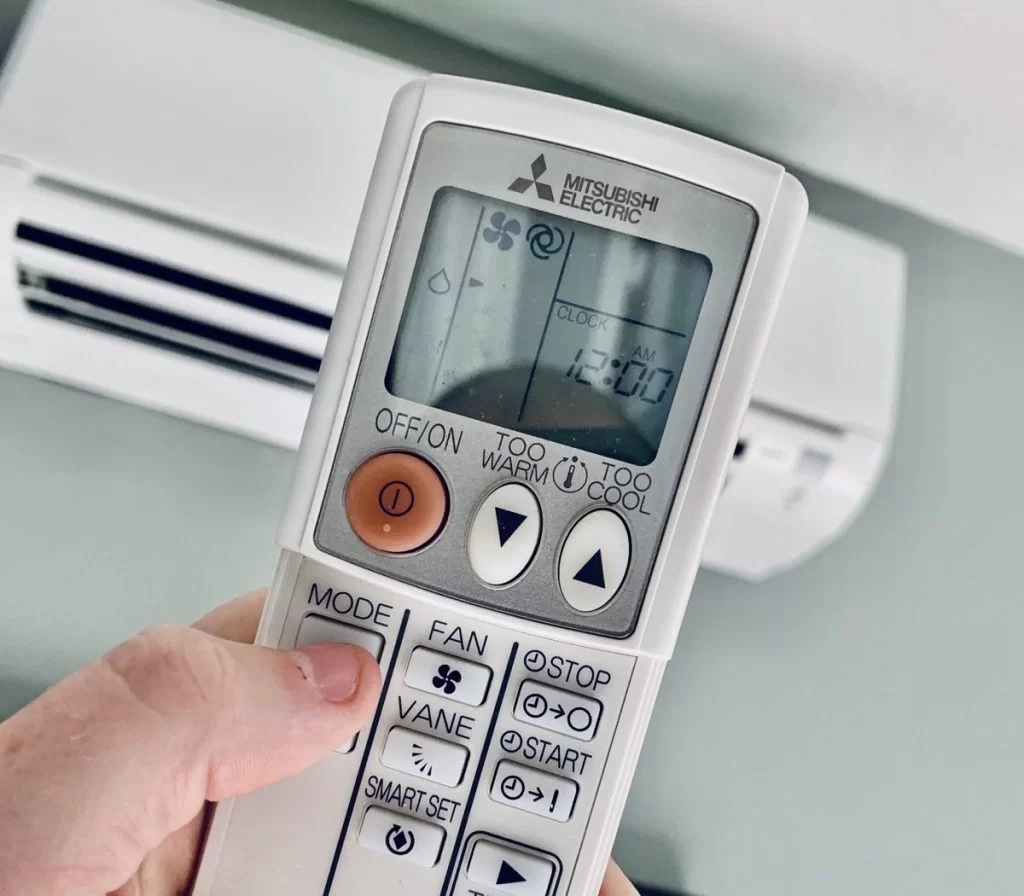
The “Too Warm” button has a down arrow (▼), which you can press to reduce the set point if you feel too hot. The “Too Cool” button has an up arrow (▲), which you can press to raise the set point if you’re too cold.
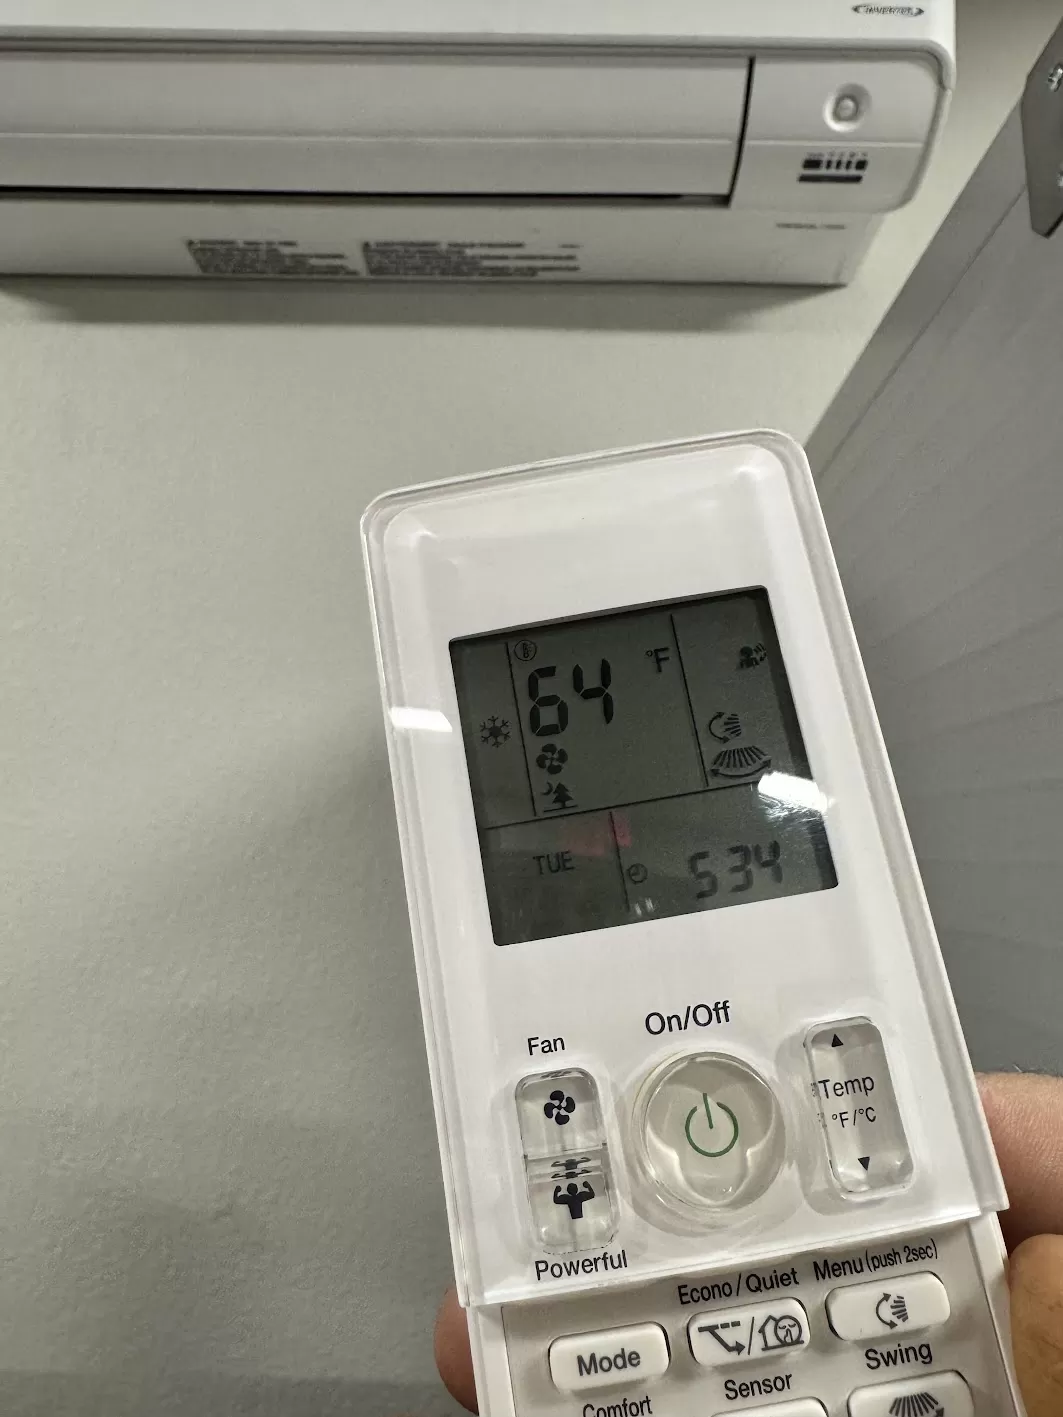
You’ll notice that there are three columns beneath the top row of buttons and on the display. If you look at the buttons, the left column has the operating modes, the center column has fan and vane settings, and the right column has the clock and set point adjustment buttons.
These three columns correspond to the display; the mode information is on the left, the fan and vane information is in the center, and the clock and set point are on the right. This layout makes it easy to understand what the buttons are supposed to control on the display.
We’ll cover all three of these columns from left to right and a few similar ones on other mini-splits.
Ductless Mini-Split Remote Operating Modes
A Mitsubishi ductless mini-split will have four main operating modes, each one identifiable by a symbol:
- Auto — four arrows moving in a square (Daikin has a letter A in the center)
- Cooling — snowflake
- Heating — sun
- Dry — water drop(s)
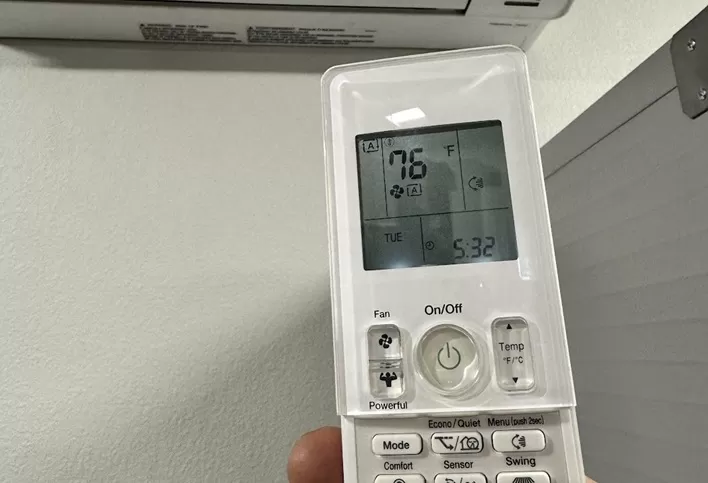
Auto has one set point that can be reached in heating or cooling mode. The unit will heat the area if the temperature dips below that set point, and it will cool the area if the temperature goes above the set point. The Daikin mini-split remote shown below is in auto mode.
Cooling mode has a set point exclusively for cooling mode. If the temperature exceeds the set point, the unit will know to run in cooling mode. However, if the temperature dips below the set point, nothing will happen. The unit will simply not run.
Heating mode pretty much works the same as cooling mode but for the opposite function. The mini-split will only run if the temperature dips below the set point. If the room temperature rises above the set point, the unit won’t run.
Dry mode runs the unit in cooling mode with a lower fan speed. There will NOT be a set point during dry mode because the main goal is to reduce the humidity in the air. If a room is humid because of rain, there’s a good chance the temperatures are on the lower side, too—possibly below the set point you would want. An HVAC system can reduce indoor humidity by slowly moving air over a cold coil, and that’s what dry mode attempts to do.
You can also press the Econo Cool button when your mini-split is in cooling mode to help save energy. This mode raises the set point by a few degrees but changes fan speeds. This mode gives you a cooling effect without using the amount of energy needed to reach the original set point.
Ductless Mini-Split Remote Fan & Vane Settings
The middle column of the remote and display shows you everything you need to know about your fan and vane settings.
The fan symbol is solid black and has four blades. It will show up on your display when the fan is running. You can press the “Fan” button with the same symbol to change your fan operation and cycle through the options. The symbol beside the fan on the display will tell you which mode you’re in.
- Whirlwind — Auto mode; the fan will adjust itself as needed
- Hand over a person’s ear — Quiet mode; a low fan speed for quiet operation, especially at night
- 1–4 bars — Fan speed on a scale from low (1 bar) to super-high (4 bars)
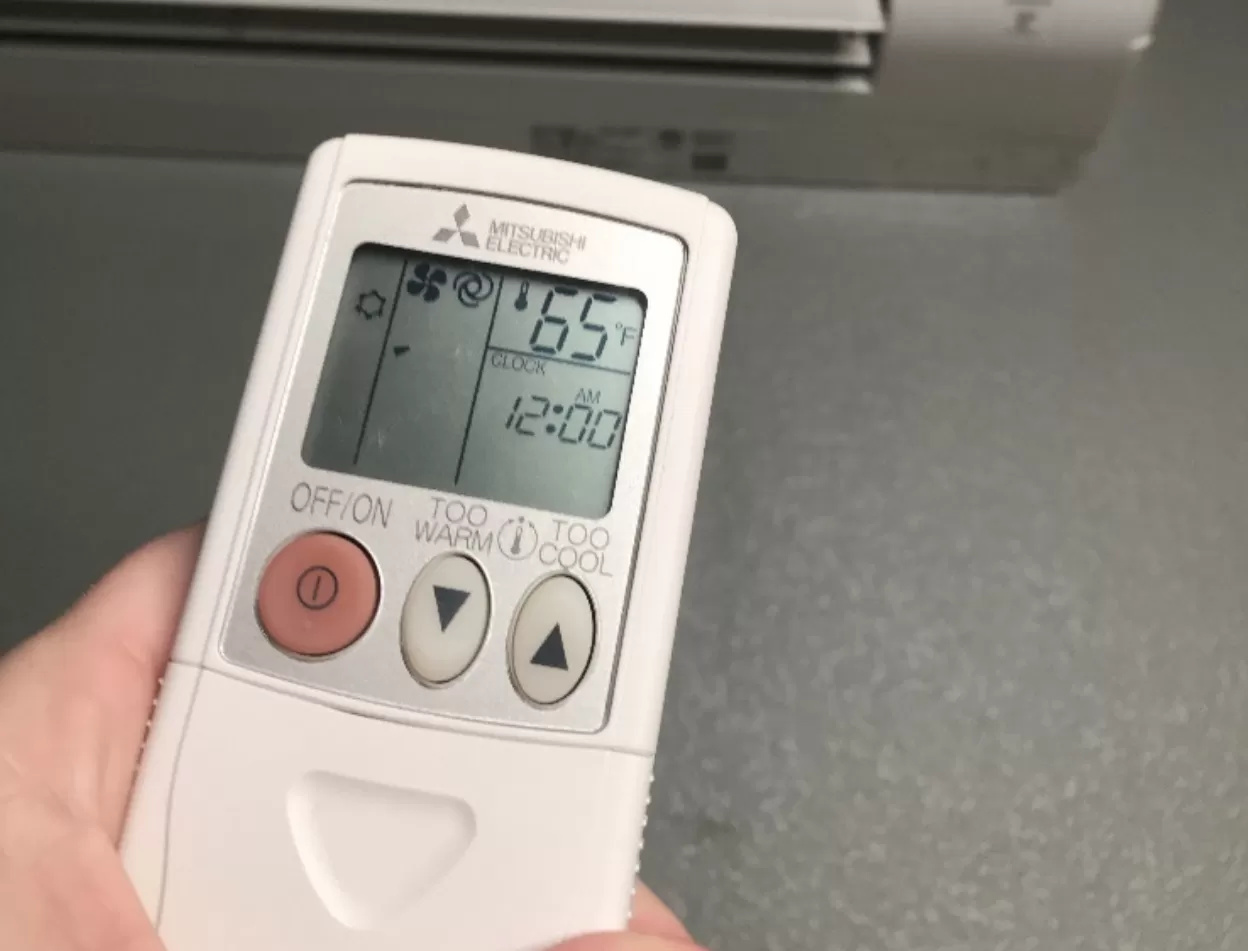
The display on the remote below shows that the unit is in cooling mode and the fan is on auto.
The Daikin mini-split remote below uses a symbol similar to the “Auto” operating mode for its auto fan mode. It also uses a symbol of a tree and a crescent moon for quiet mode (shown).
You will also be able to set the vane settings. These settings control the angle at which the air comes out of the mini-split. The “Vane” button shows all of the vane angles in a series of tick marks (from 0 to 90 degrees from horizontal to straight down). These tick marks correspond to the angle of the vanes.
The default setting will be “auto,” which has the same whirlwind as the fan’s auto mode. However, pressing “Vane” lets you cycle through the different positions shown on the button. After you’ve cycled through all of the vane angles, you will see a horizontal line, a vertical line, and a curve with two arrows between the lines—this is the “swing” mode. Swing mode will move the vanes and create a “swing” from bottom to top (or vice versa), making the airflow take on a sweeping motion.
Smart Set
You’ll also have a button that says “Smart Set” with the symbol of a diamond with a circular arrow around it. This setting is an energy-saving mode for when the house is unoccupied (such as when you go on vacation).
You can adjust the Smart Set parameters and then press “Smart Set” again to save them as the unit resumes normal operation. Pressing “Smart Set” again will restore the parameters you set. It works a bit like the “last” button on a TV remote.
Clock & Timers
The Mitsubishi mini-split allows you to set timers for when the unit is on and when it’s off. You must set the clock before you can set the timers.
You can adjust the clock by using a small, thin object like a pen nib to press the tiny “Clock” button at the very bottom. Then you can then use the “Time” arrows to set the clock. Pressing a button moves the time forward or backward by one minute, and holding a button moves it faster—in 10-minute increments. Once you’ve reached the time you want to set on the digital clock, press the “Clock” button again until the word stops blinking on the display. Keep in mind that the clock will reset each time you replace the batteries.
Mini-splits have timers that work within a 24-hour period. You can set the timeframes yourself; you might consider running it while everyone is awake and letting it stay off when everyone is asleep. You can press “Start – |” and use the “Time” arrows to set the start time. Once you reach your preferred start time, let the remote sit for about 3–5 seconds, and it will lock in your start time. Repeat this process for the “Stop – O” button.
There is certainly a bit of a learning curve that comes with using a ductless mini-split remote. However, you can control your comfort in the palm of your hand with more options than most traditional thermostats.
Kalos can help you with any of your mini-split needs, whether you need service, want to talk about maintenance plans, or want to consider installing a new one. They work great in lanais and garages, especially garages with EV chargers, but you can have a mini-split in any room. Call or text us 24/7 at (352)-243-7099 to learn more about our offerings or ask a question about your current or future mini-split.